Our Sustainable Farming Practices
If you’ve been following and shopping with us for awhile you probably already know that we are deeply committed to sustainable growing practices on our farm. If you’ve just discovered us or are beginning to learn about us and our farm then this blog post is for you! We’ll go over just some of the many ways we use sustainable and organic growing practices on our farm. And we’ll explain why our tag line - Healthy Soil, Healthy Food, Healthy People - succinctly captures the essence of what and why we do what we do on our farm.
For us, sustainable growing practices mean the following things. First, we are trying to improve our soil over time instead of degrading our soil over time. We want the soil for next season to be better than the previous seasons. Second, we don’t use toxic chemicals for weed, disease & pest control on our farm. Finally, we want to grow a wide diversity of crops and cover crops. All of these, tie into our first goal: trying to improve our soil over time. Let’s dig into each of them.
Improving Soil Health
Soil isn’t just a medium to grow something in. It’s a complex living, breathing ecosystem filled with bacteria, fungi, insects and more. In fact, in just a single teaspoon of soil there are billions of living organisms that are responsible for cycling the nutrients that plants need to grow. We want to foster and encourage that ecosystem to thrive because if that ecosystem is off then the quality of our produce goes down.
We improve soil healthy by minimizing tillage as much as possible on our farm. Tillage disrupts and destroys the ecosystem described above and can cause things to get out of balance. While we are not 100% no-till on our farm for a variety of reasons we are very aware of the damage tillage can cause. We also plant diverse cover crop mixes to grow a wide variety of plants that can foster a diverse microbial community in our soil.
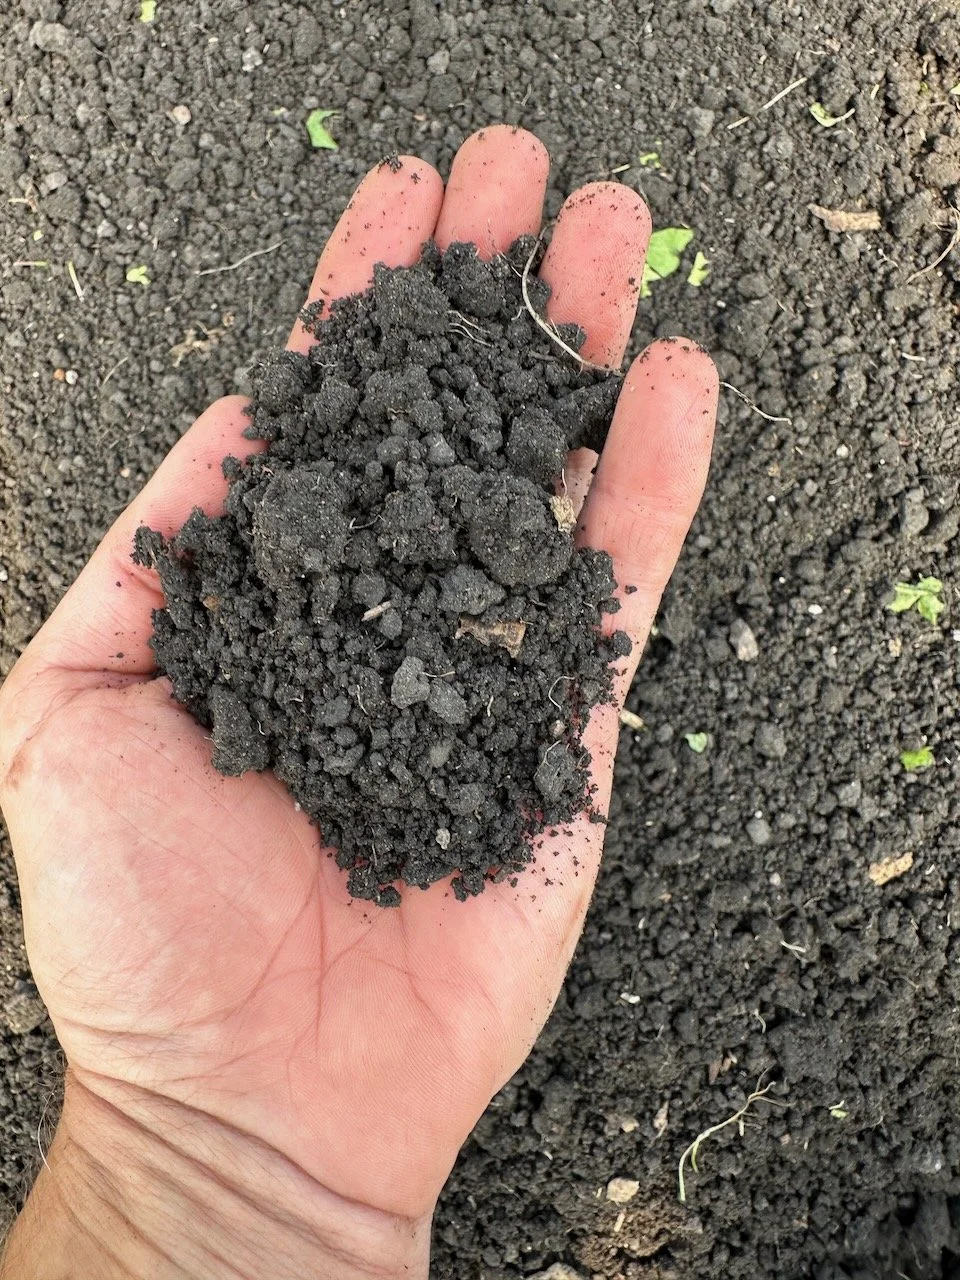
A handful of soil with billions of living organisms in it!
No Toxic Chemicals
This is basically a no-brainer. We don’t use toxic chemicals on our crops for insect, weed, or fungus control. These chemicals safety for humans is questionable at best and cancer causing at worst. We er on the side of caution and avoid their use to protect the health and wellness of ourselves, our children, our neighbors, our community as well as our soil and it’s microbial community. C
Crop Diversity
We grow over 90 varieties of produce on our farm each with their own nutrient needs. By rotating through these crops in our fields and tunnels we’re able to more closely approximate nature’s diversity which helps keep our crops healthy, lowers pest pressure, and helps to improve our soil. In addition to crop diversity we also grow diverse cover crop mixes in fallow areas of our farm. These mixes attract beneficial insects, improve our soil by increasing soil organic matter, prevent our soil from eroding from wind or rain and are a joy to observe.
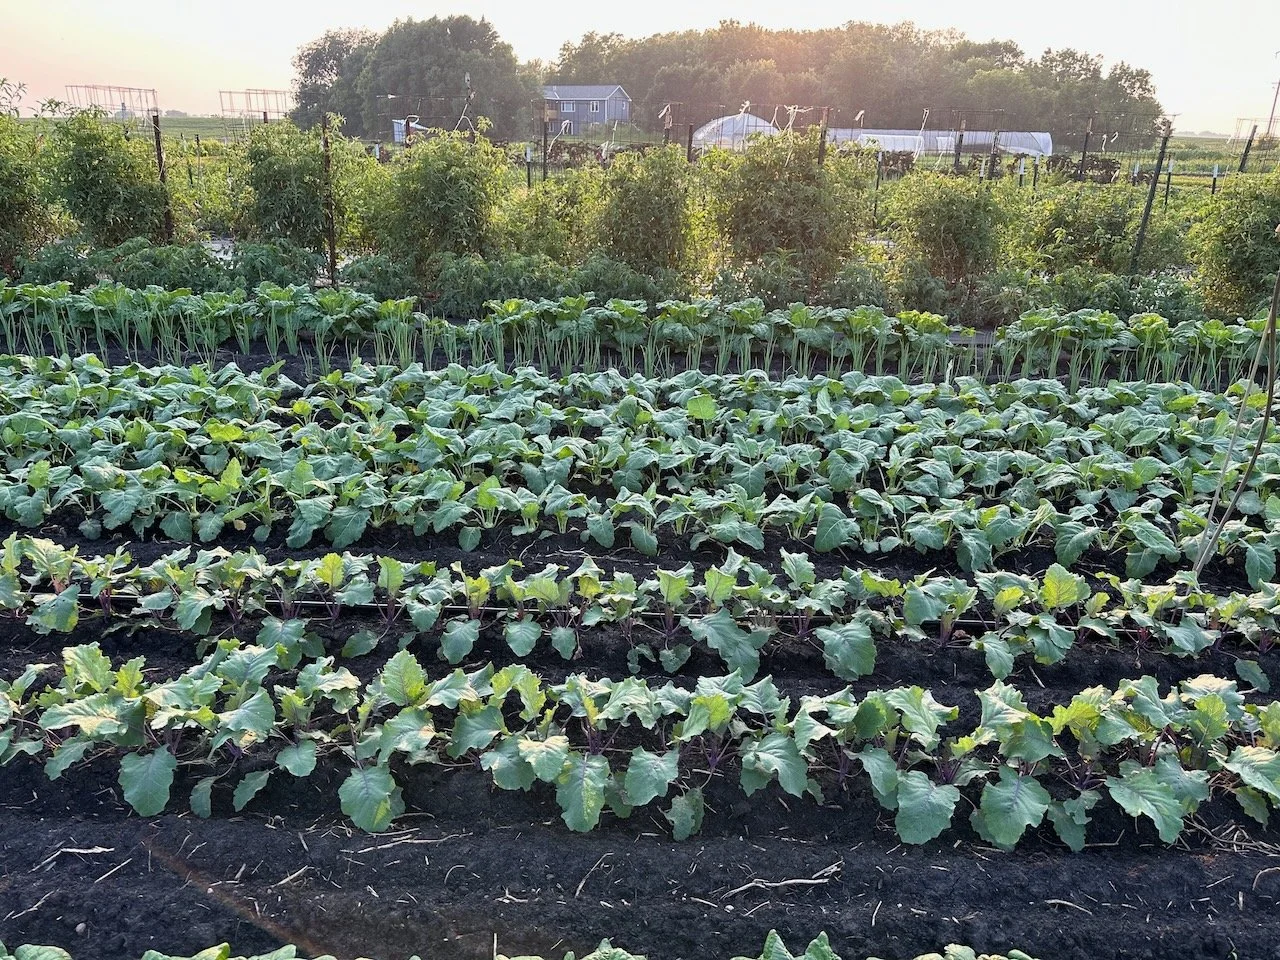
Our diverse vegetable farm. Kohlrabi, cabbage, onions, tomatoes in this photo of one small piece of our farm.
Healthy Soil, Healthy Food, Healthy People
Let’s tie it all together into our tag ling. Healthy soil is the foundation needed to grow healthy plants. Plants need more than just the standard NPK (nitrogen, phosphorus, & potassium) fertilizers sold everywhere. They are complex organisms requiring complex nutrients in order to thrive. It is similar to how humans need more than just fat, carbs, and fiber to thrive. Thus, if you have healthy soil you have a healthy plant which yields healthy food.
There is a growing body of literature that suggests that per unit of mass the fresh produce you find in the supermarket has less nutrients than produce from 50 years ago. Here’s an article for further reading: https://www.scientificamerican.com/article/soil-depletion-and-nutrition-loss/ The reason for this is depleted soil and only replacing NPK instead of thinking of soil as a living, breathing thing. If you have healthier soil then you have healthier produce.
Finally, the typical American diet is generally pretty bad (if you’re reading this blog you probably don’t have a typical American diet.) Worse, even if the typical American is buying fresh produce at the super market it’s just not as good for you (and not as good tasting either) as the produce we’re growing due to the reasons cited above. Eating nutrient dense produce that is nutrient dense because it came from healthy plants which were grown in rich, healthy soil will help you be healthier.
Thus, healthy soil = healthy food = healthy people!
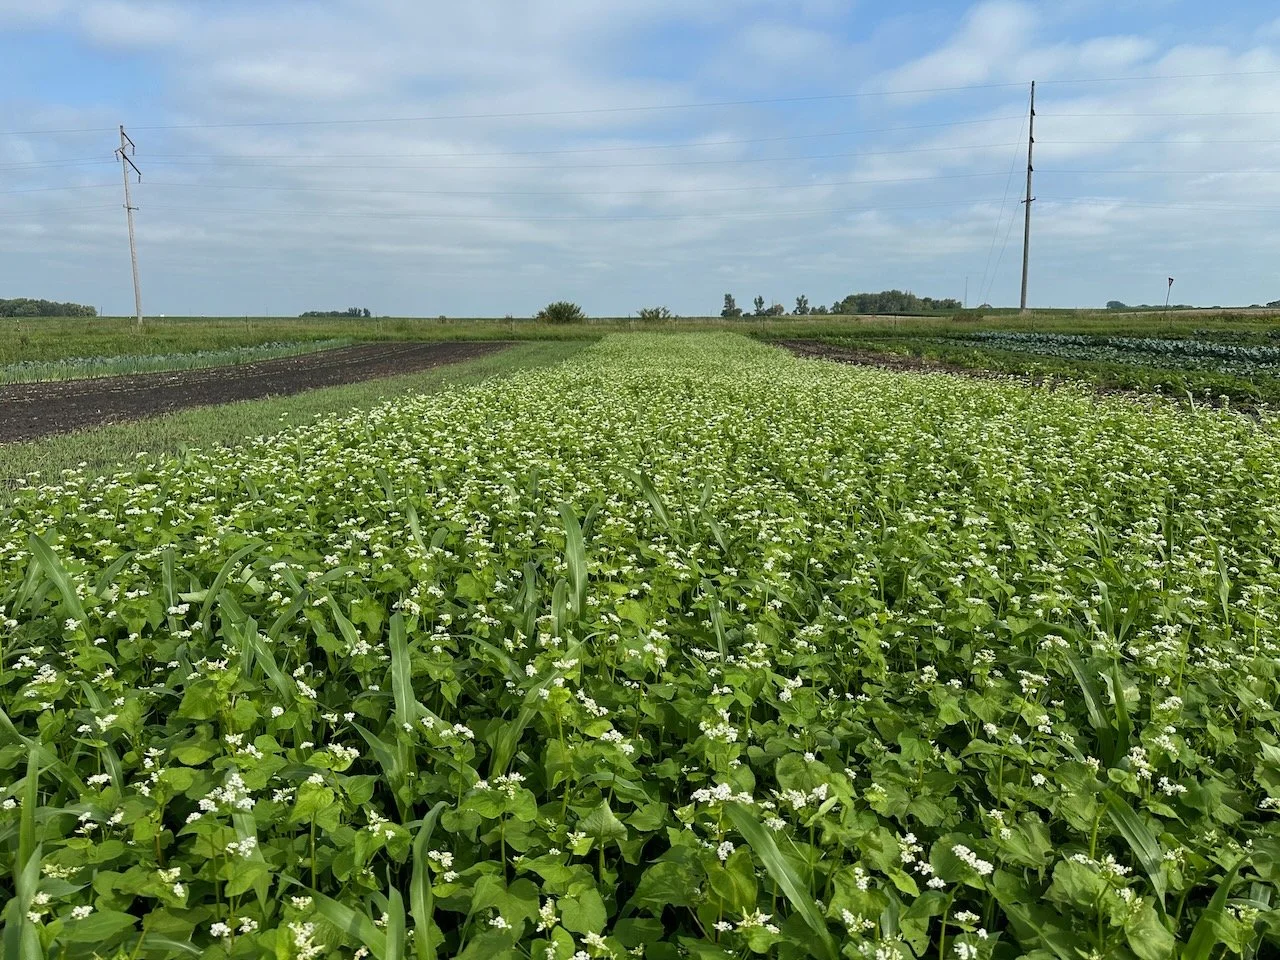
Cover crops on our farm! Buckwheat, millet, peas, sunflowers, sun hemp and soybeans, are all part of this mix!
Snap Pea Trellis Trials
Peas can be a bit of a tricky crop. They don’t like it too be too hot, or too cold or too wet or too dry. The Goldilocks zone - where everything is just right and the peas flourish - is very narrow for peas. Oh, and peas are vine crops in that they like to crawl and climb anywhere they can and don’t necessarily stand upright all on their own. That’s especially true for our sugar snap peas. The vines can grow to be 5 to 6 feet tall by the end of their productive season. With that much height it’s a requirement to trellis snap peas to reduce disease pressure, manage the height, and make them easier to pick. This weeks blog post will go over two methods we tried this year.
Method One: Trellis Netting
This method utilized plastic netting suspending by using fence posts, conduit pipe and zip ties to give the peas a nice net to climb up. In our experience this method works the best but it has some down sides. First, it’s a bit labor intensive to setup. It takes a good amount of time and back and forth trips to get all the pieces of this trellis system in place. Another downside is the plastic - the netting is discarded at the end of each season.
Overall though this method works the best when installed properly. As you can see in the photo above the peas are nice and upright climbing up the fence with ample space for us to get in and harvest the peas.
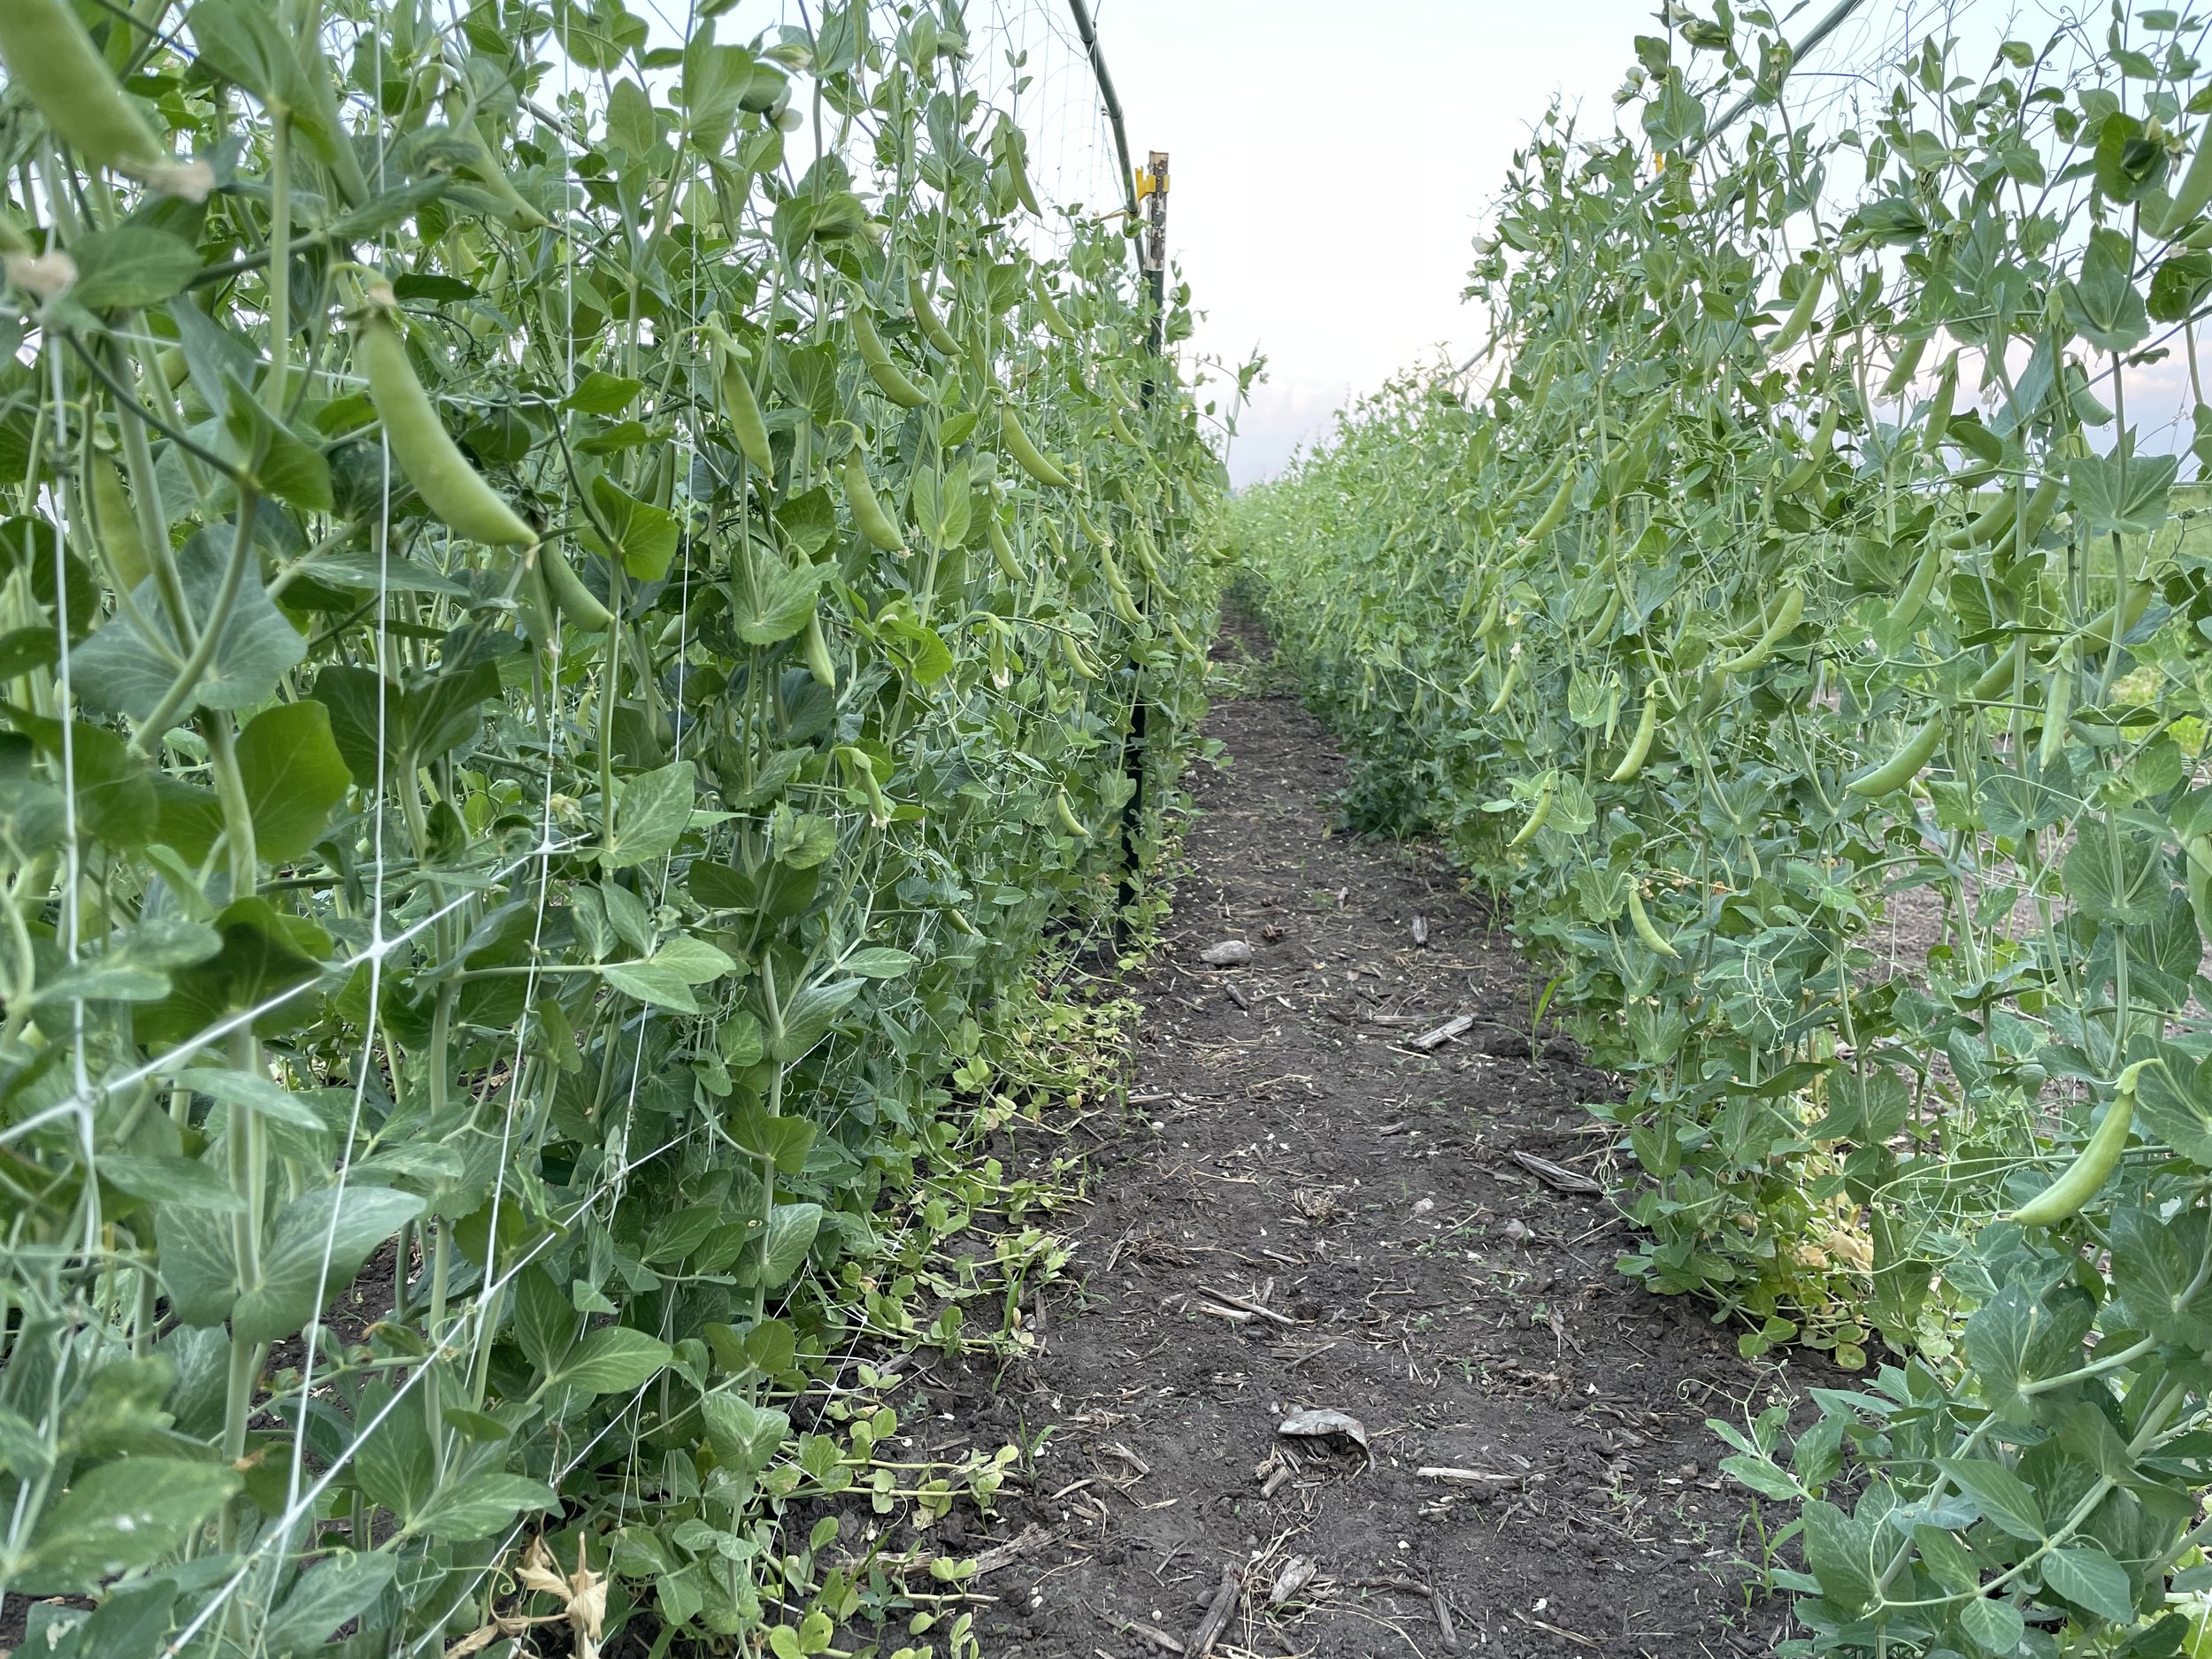
Trellis netting in action supporting sugar snap peas!
Method Two: Trellis Ropes
This method switches out the netting for ropes that get weaved between peas and fence posts. It’s simpler to set up but requires more labor overall since someone needs to add additional rope every 1-2 weeks for the peas to climb on. Our experience indicates this method doens’t work well for us. We noticed a marked increase in the number of peas that are unable to find the rope and thus just flop over onto the ground. Not ideal.
We trialed the rope method this year just to see if we liked it better. We found out that we don’t. A valuable lesson for seasons to come!
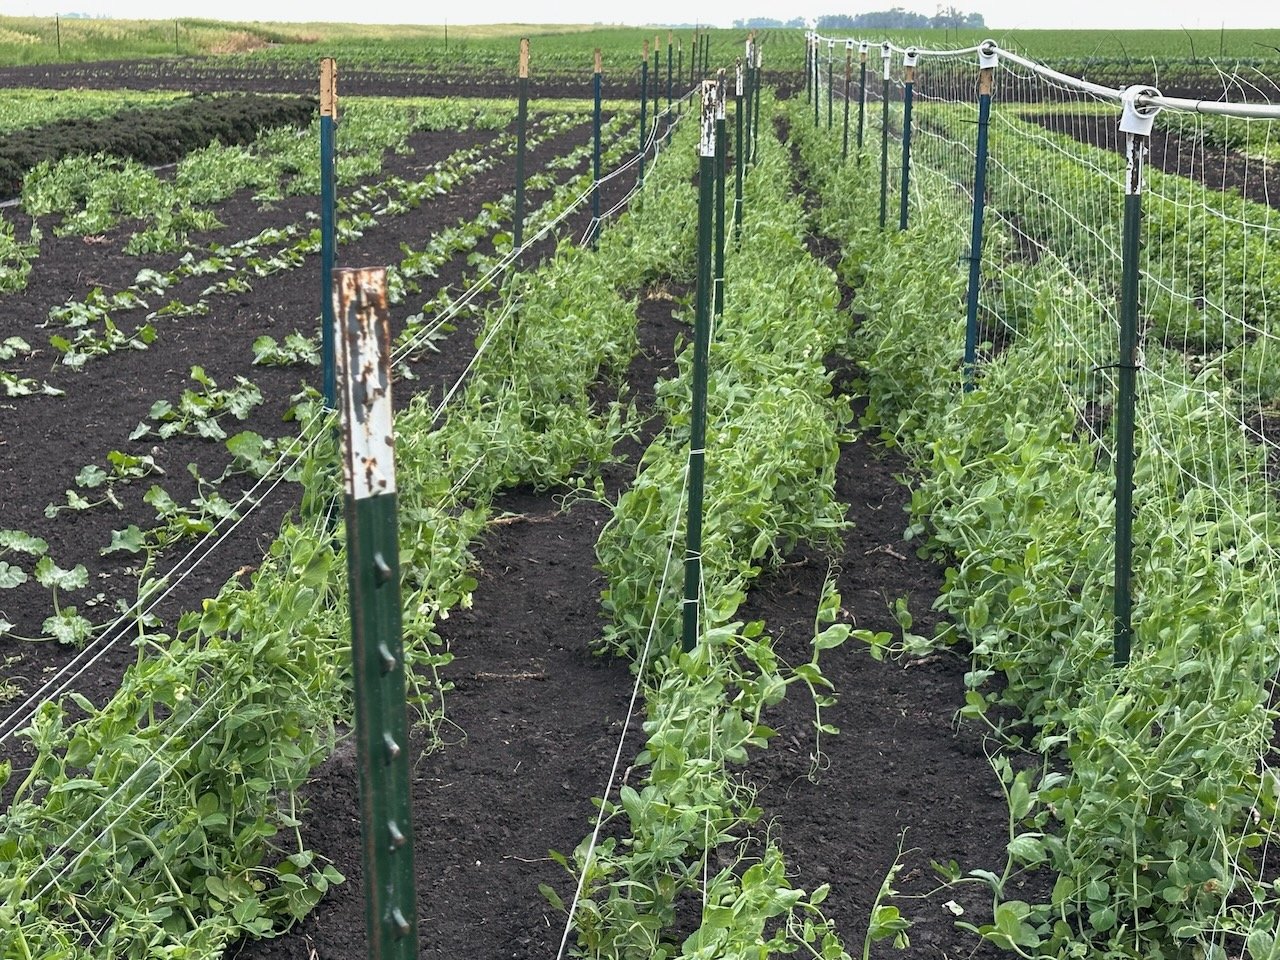
Method Two: you can see in the center of the photo how the middle row of peas is flopping to the right. Not ideal!
Tunnel Bed Flips & Summer Lettuce
Lettuce is one of our signature crops. We strive to grow and sell lettuce for as much of the year as we can. Currently, we reliably have lettuce available every week from early May through late December. A large part of the reason we have lettuce available for such a long period of time is our tunnels. Since we’re starting to transplant our summer lettuce this week into our tunnels we though we’d take a moment to go over our process of “flipping” beds and growing summer lettuce.
First, off: what is a bed flip? It’s a bit of market farm jargon that basically means that we are removing an old crop from a bed and preparing that bed for a new crop. In most of our tunnels we get about 3 crops per year from each bed. This helps us optimize the use of the space in our tunnels so that we can bring the largest amount of the best crops from the tunnel beds.
The photos below (from separate beds/tunnels) show the steps. First is the our finished product - lettuce mix :-). The second photo shows landscape fabric removed and the bed tilled, the third photo shows landscape fabric installation, and the fourth photo shows recently transplanted lettuce.


Here’s how we do our bed flips:
Remove old crop debris/weeds: There’s almost always some left over crop debris and/or weeds when we flip beds. We remove this material to reduce disease pressure and to help us in subsequent steps.
Remove landscape fabric: We use landscape fabric to help manage weeds and disease and keep lettuce clean. We remove landscape fabric and allow it to rest for a period of time before we reuse it.
Prepare the soil: We use a small rototiller to lightly till the soil. This helps to loosen the soil and makes it easy to transplant lettuce into. After we till, we lightly rake the bed to make it nice and smooth and uniform.
Install new landscape fabric: Now we’re ready to put landscape fabric back down and our bed is ready to go!
Summer Lettuce
We grow four kinds of summer lettuce and three of them grow pretty reliable in the heat: our lettuce mix, green curly, and summer crisp lettuces all do well in the heat. We’re experimenting with a romaine variety as well but have had mixed results. The heat of the summer can cause lettuce to both become bitter and bolt (which means is goes into it’s reproductive phase and becomes much less palatable). We use a combination of shade cloth, irrigation, careful variety selection, and landscape fabric to help manage the stress of summer.

Salad tunnel :-)
Meet Our Staff Part Two
Every year we hire a small crew to help us with the work on our farm. Our staff not only work on the farm doing tasks like harvesting, weeding, and transplanting but they’ll also be present at our Farmers Market stand and help with our CSA pickup locations and delivery route. You’ll likely get to know them a bit over the course of this season so we’d like to take a moment to introduce you to two more of our farm staff.
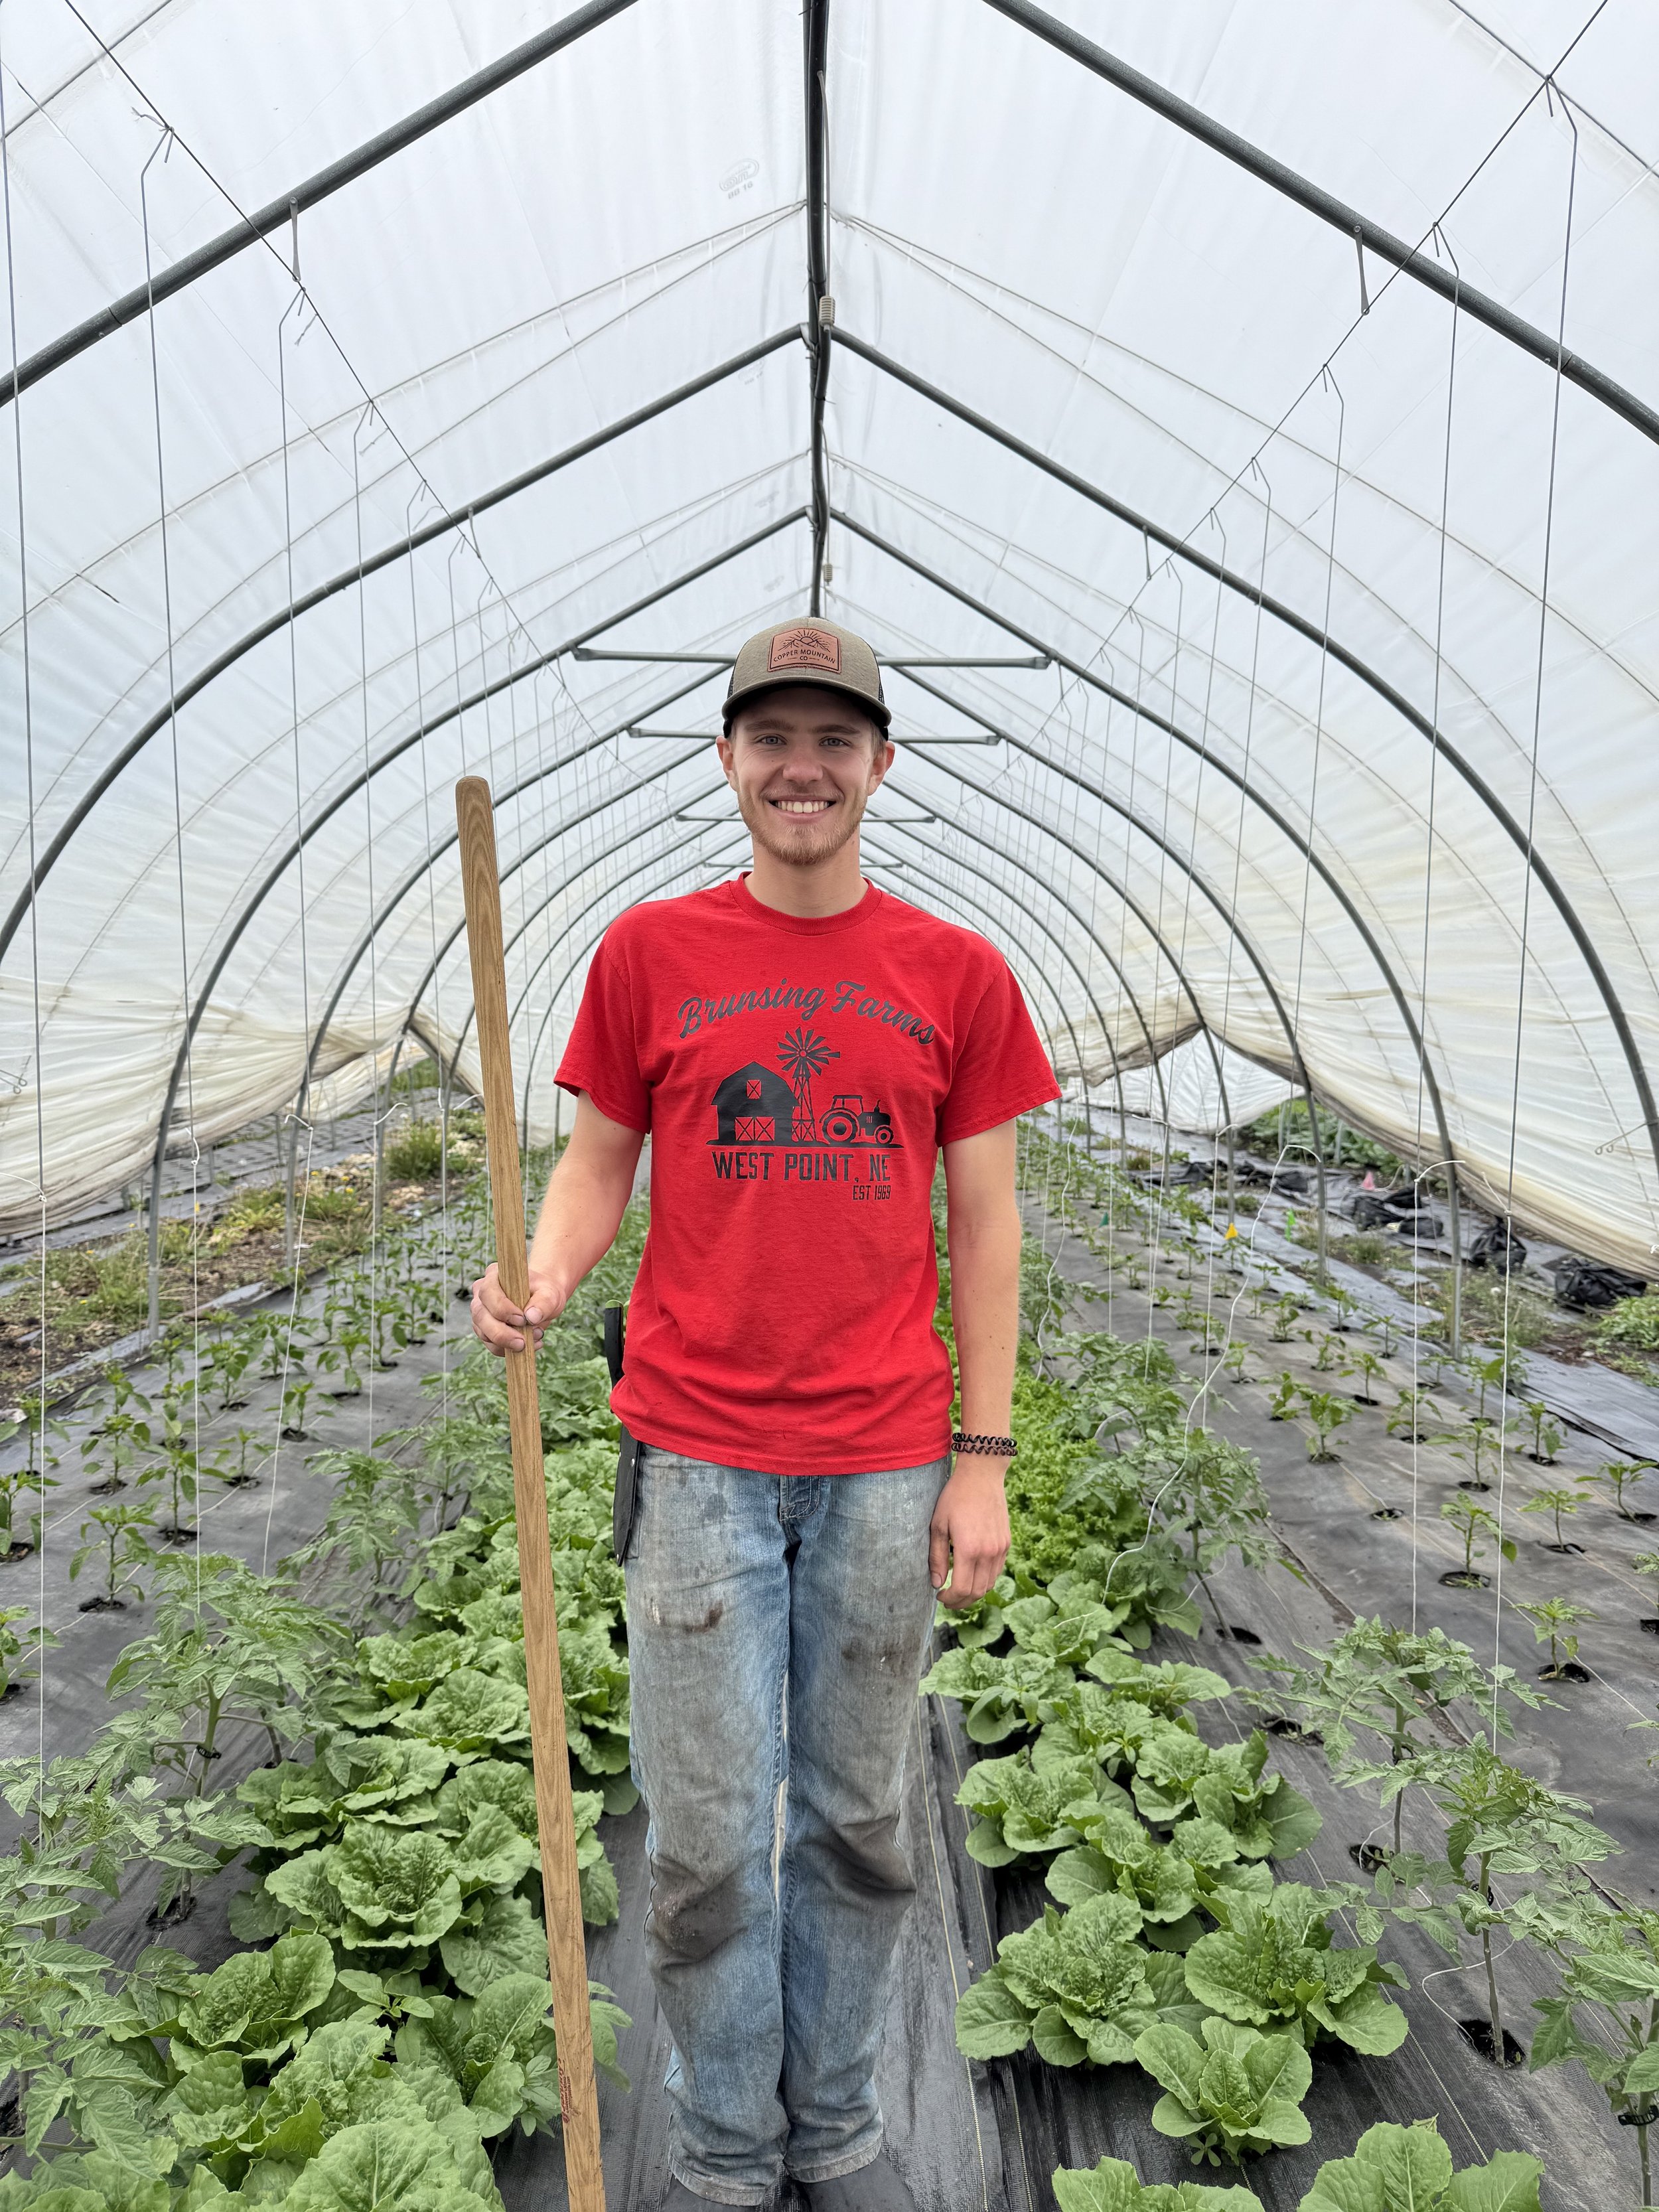
Meet Dalton
My name is Dalton, and I’m currently studying geography and soil science at Minnesota State University, Mankato. Working outside is my favorite way to spend my free time, so I’m most excited about getting to do just that on the farm this summer. My favorite vegetable is asparagus!

Meet Sarah
Hi I'm Sarah and I'm most excited to have hands-on learning experience with sustainable agriculture! I'm interested in how crops are strategically planted and cared for based on the specific seasonal planning. I also hope to get involved with the local farmers market community, meet lots of new people, and make some friends!
Perennial Crop Spotlight: Rhubarb
Here we are at the end of rhubarb season and I’d love to send it a fond farewell and talk about the importance of perennial crops on our farm. Rhubarb season lasts from early to mid May through early to mid June in most cases. The rhubarb yield was on the lower side this year. I think that’s attributable to both the intense rainfall we had in the first half of last season and the lack of rainfall we had in the second half. Many perennials “bank” energy in their roots that they use the following season. Without this banked energy the yield can be lower.
Last year we attempted to expand our rhubarb patch from about 4 plants to around 40 plants. We bought the crowns, transplanted them in mid-May and then they were obliterated by torrential rain. We only had about 3 plants survive of the 35 or so we planted. A major disappointment and a waste of money, labor, and energy. We thought we’d try again this year and here’s what we’ve got so far:
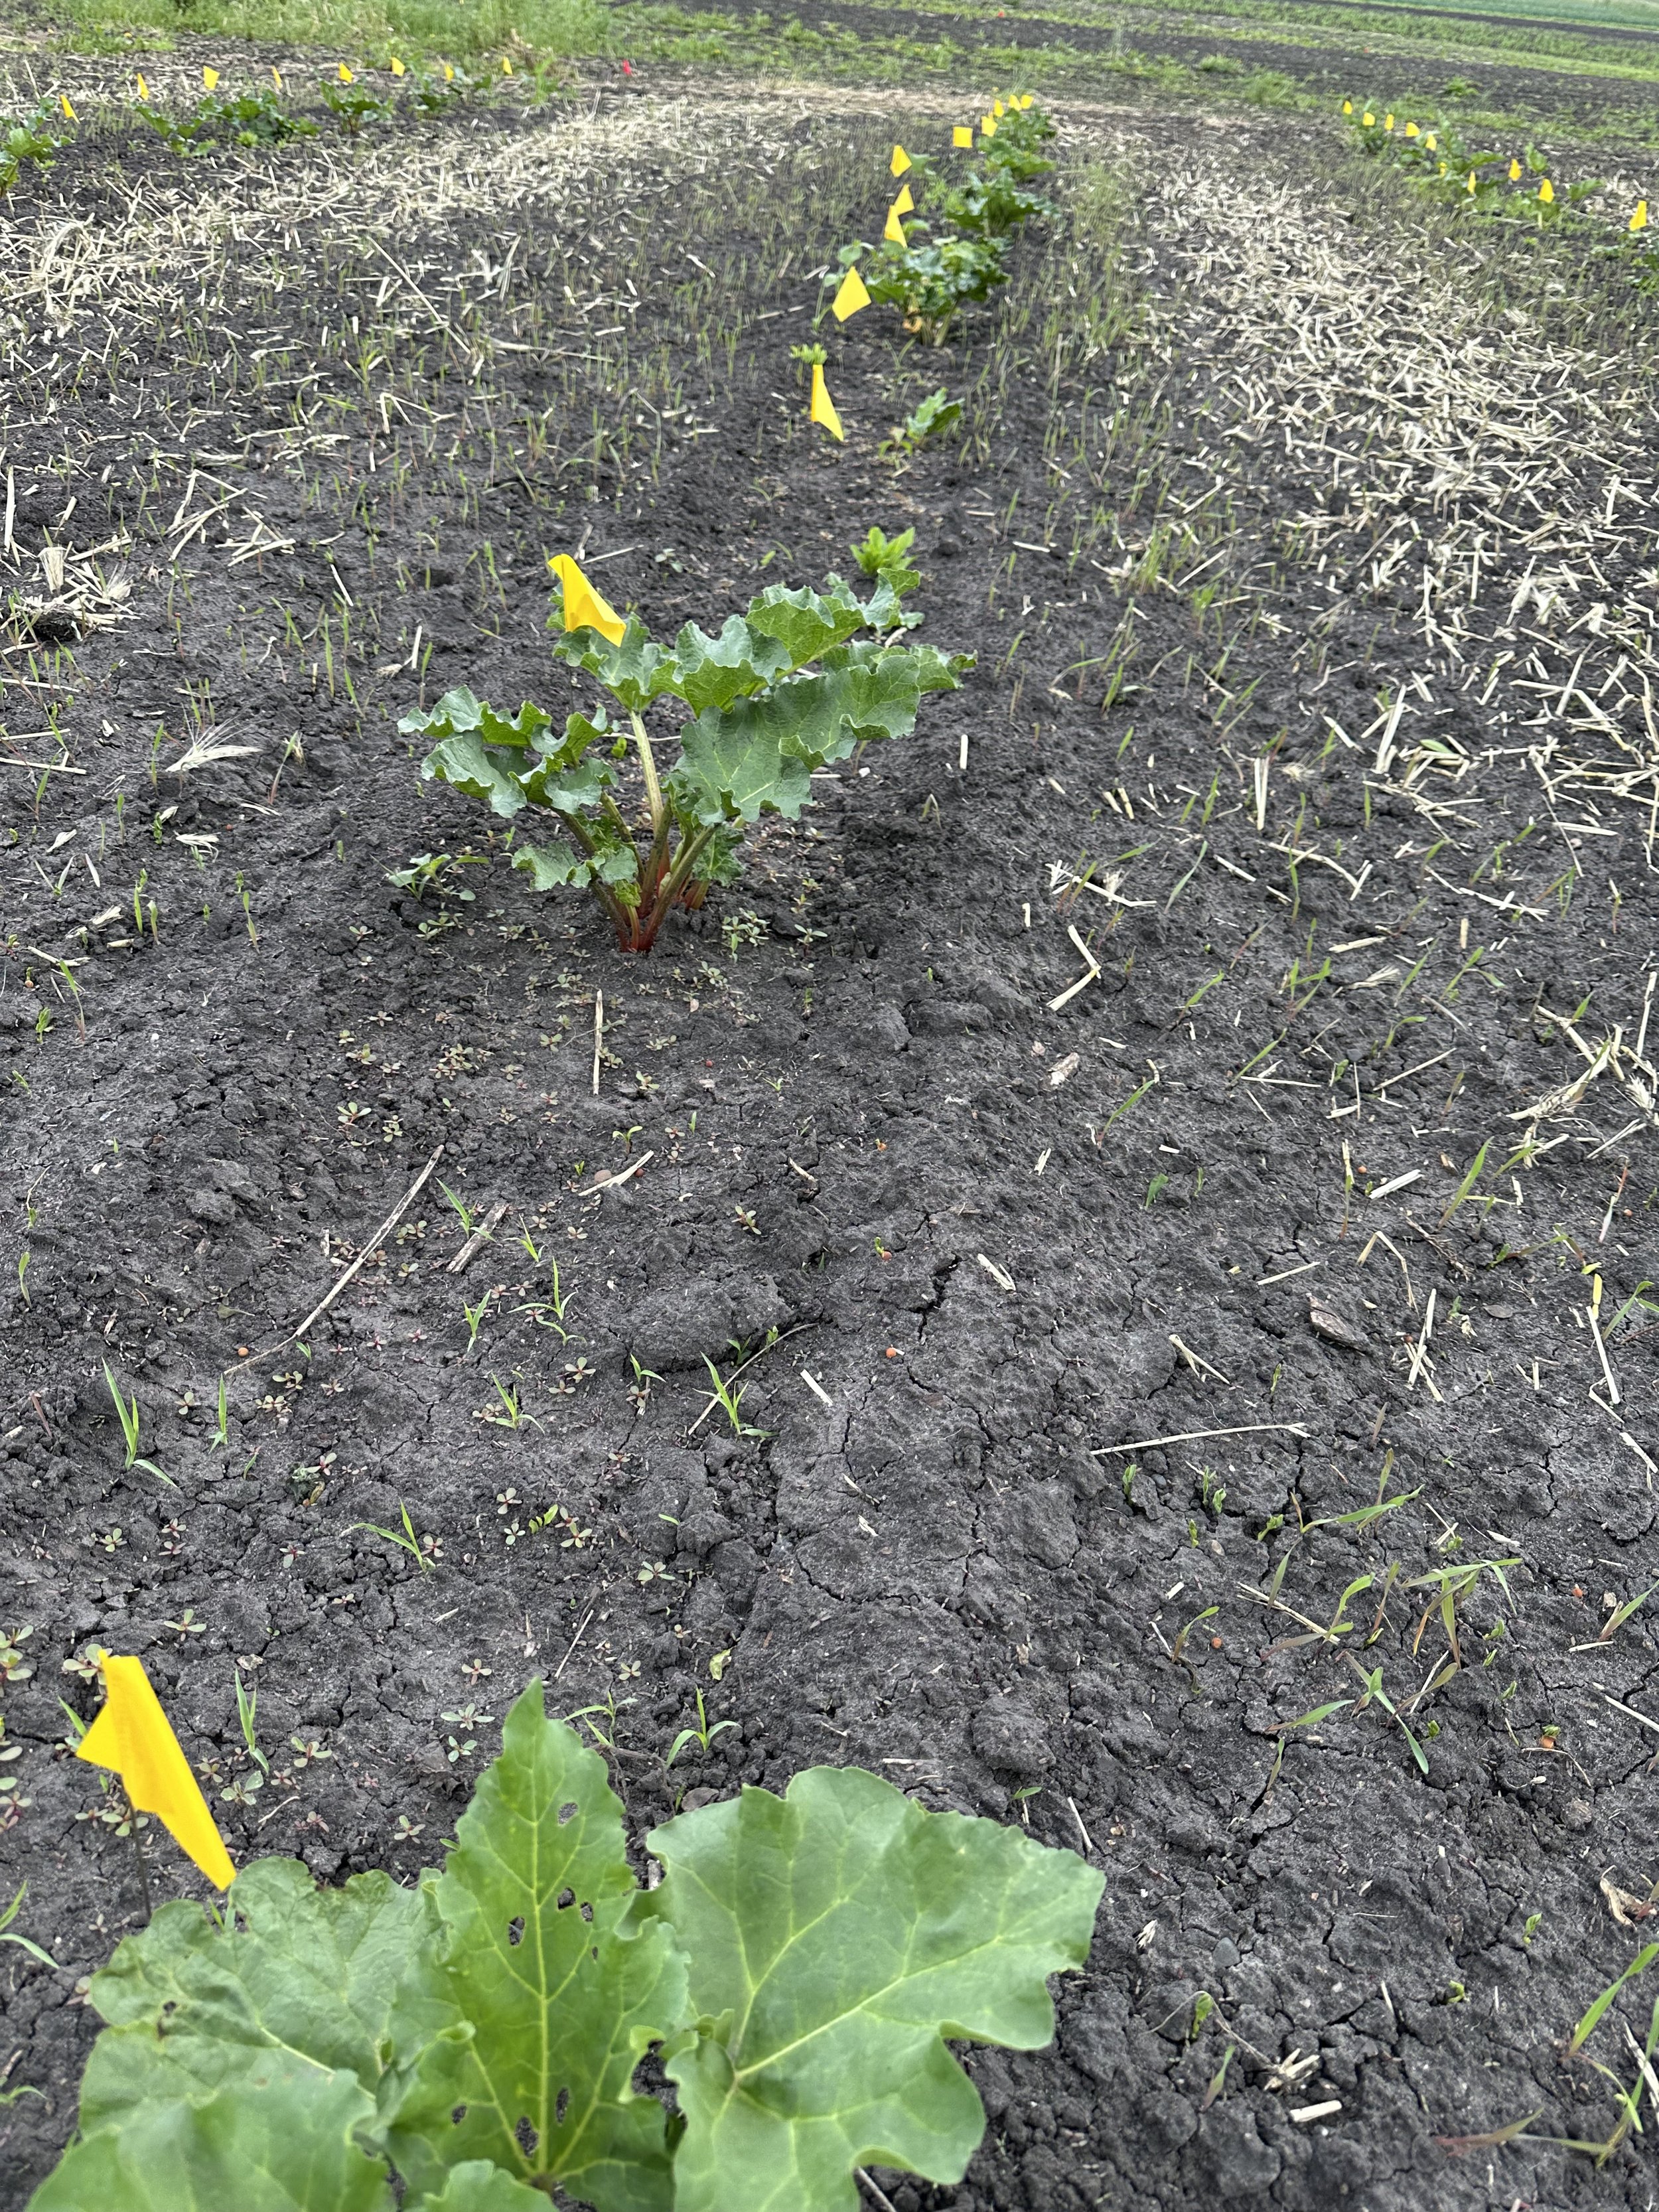
Each yellow flag marks a rhubarb plant. Almost all of them made it!
Our rhubarb planting was a big success this year! We have near 100% of the crowns we transplanted emerge and if the weather is halfway decent this season we’ll be well on our way to have an abundant rhubarb supply! You may notice some spindly grassy looking stuff in between our rhubarb rows. That’s a winter rye cover crop we planted to help keep the weeds down while the rhubarb gets established.
Why are perennial crops important?
Before we get into why perennial crops are important let’s go ahead and define what a perennial crop is. Perennial crops are crops that come back year after year without having to replant each spring. Some perennial crops you may already be familiar with are asparagus, raspberries, and strawberries.
There are two big reasons perennial crops are important. First, because they come back year after year we end up not having to till or disturb the soil around them. This helps to improve our overall soil health and especially in the areas where our perennial crops reside.
The second reason is that we have some obtuse areas on the farm. That is, spaces on the farm where the beds and rows aren’t uniform length and where we have other farm infrastructure set up. It’s difficult to get our tractor and many of our tools in these spaces and it’s difficult to approximate harvests with non-uniform areas. That’s where perennial crops can come in. We can plant perennials in these obtuse spaces to make use of these spaces and not have to deal with the headaches mentioned previously.
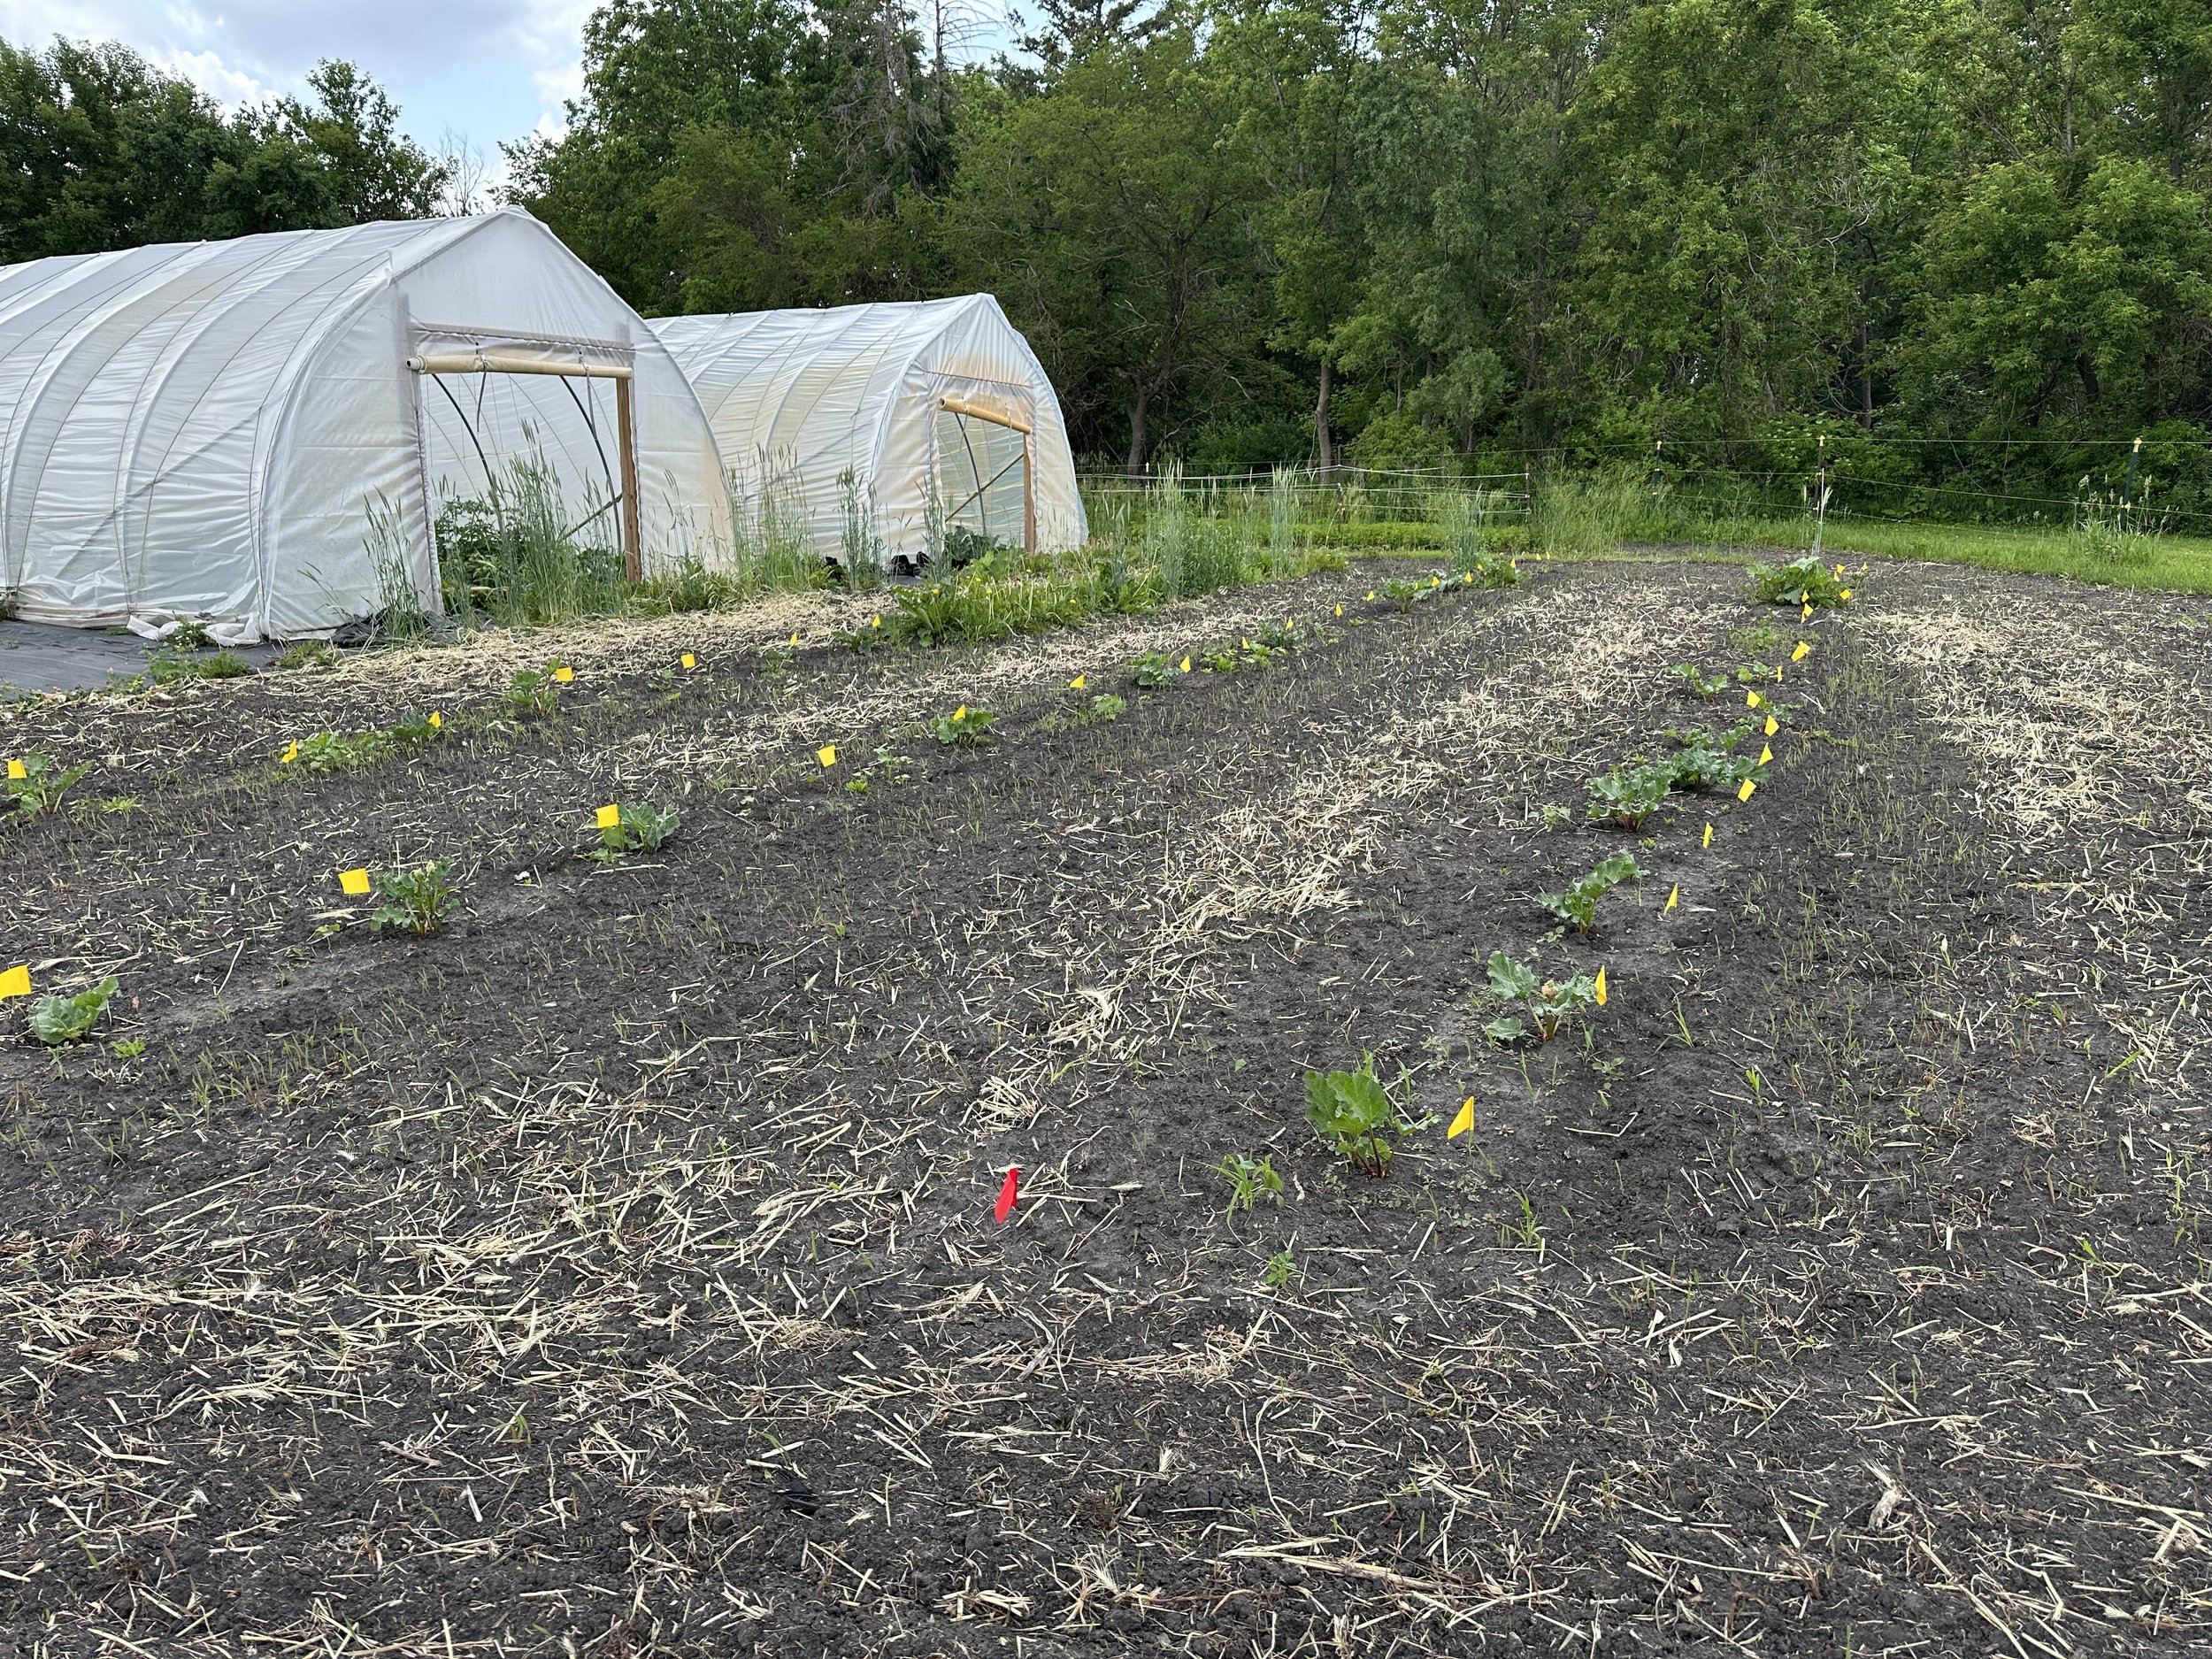
The space along the north end of our tunnels is obtuse and perfect for perennials!
Climate Adaptation: Waterway Mix Seeding
In 2024 we experienced catastrophic flooding on our farm. We received a years worth of rainfall in just May and June. You may recall the nearby Rapidan Dam failed, downtown Mankato homes and businesses had flooded basements and many farmers experienced significant crop loss and difficulty accessing their fields. Unfortunately, climate models predict that these types of storms will only happen more frequently as the planet continues to warm.
This year we took action to help adapt our farm to climate change. We decided to take more of our lowest ground out of production and plant a cover crop that consists of a mix of species that can better withstand wet soil conditions. To compensate for the lost ground we took some of our pasture land into vegetable production.
The cover crop mix will provide a variety of benefits to the farm and the environment around us. First, it will help to reduce soil erosion during heavy rainfall events resulting in less soil ending up in the waterway. Second, it will help to reduce the amount of nutrients from our soil that are leached into the waterway. Finally, it will help suppress weeds and be relatively low maintenance - requiring mowing only a couple times per year.
A bit of history on our farm. Before the mid 20th century there was a creek that ran right through our farm. See the photo below. The powers that were decided it would be a good idea to move the creek such that it was square with the section. It wasn’t a good idea. Every time we get a heavy rainfall the creek is formed anew and precisely where it had been. Mother natures wants her creek back.

The green rectangle is where our farm is located. The dark wiggly line intersecting the green rectangle is where the creek was.
Back to the waterway mix. Below is a photo collage of the steps I took to seed the mix including a picture from last year that shows the flooding and if you look into the background of the photo you can see the “creek.” Also, not pictured is the first tillage pass I made to loosen the soil and knock down weeds.
Today, as I write this, it’s raining softly and steadily which will be perfect to get the waterway mix seeds germinated and growing! We can’t wait to see what it looks like in a couple years when it’s well established!


Weed Control 101
Weed control is something every farmer has to deal with. On our farm, we don’t spray chemicals on our crops or use pre emergent herbicides to control weeds which means we have to work really hard to control weeds on the farm. It doesn’t take long for weeds to get out of control and choke out the crops you’re trying to grow. Here’s how we do it.
Flameweeding
We use our flame weeder to burn small weeds just as they’re emerging from the soil and before our crops emerge. Because many weeds will germinate and sprout before our crops come out of the soil we can give our crops a head start by burning the weeds off. It’s been an effective tool for us especially in carrots and cilantro which have relatively long germination periods.

Our flame weeder.
Finger Weeding
No, not your fingers (although we do hand weed too). Finger weeders are discs with polyurethane “fingers” that spin and flick weeds out of the soil when they are young and vulnerable. This tools works particularly well on transplanted crops where the crop is vastly bigger than the weeds.

Finger weeders in yellow. Notice how the fingers penetrate into the soil in the row.
Tine Weeding
Tine weeding is a type of blind cultivation - that is, cultivation that is “blind” to the crop rows - that uses many small wires that vibrate in the soil and help to uproot very small weeds.
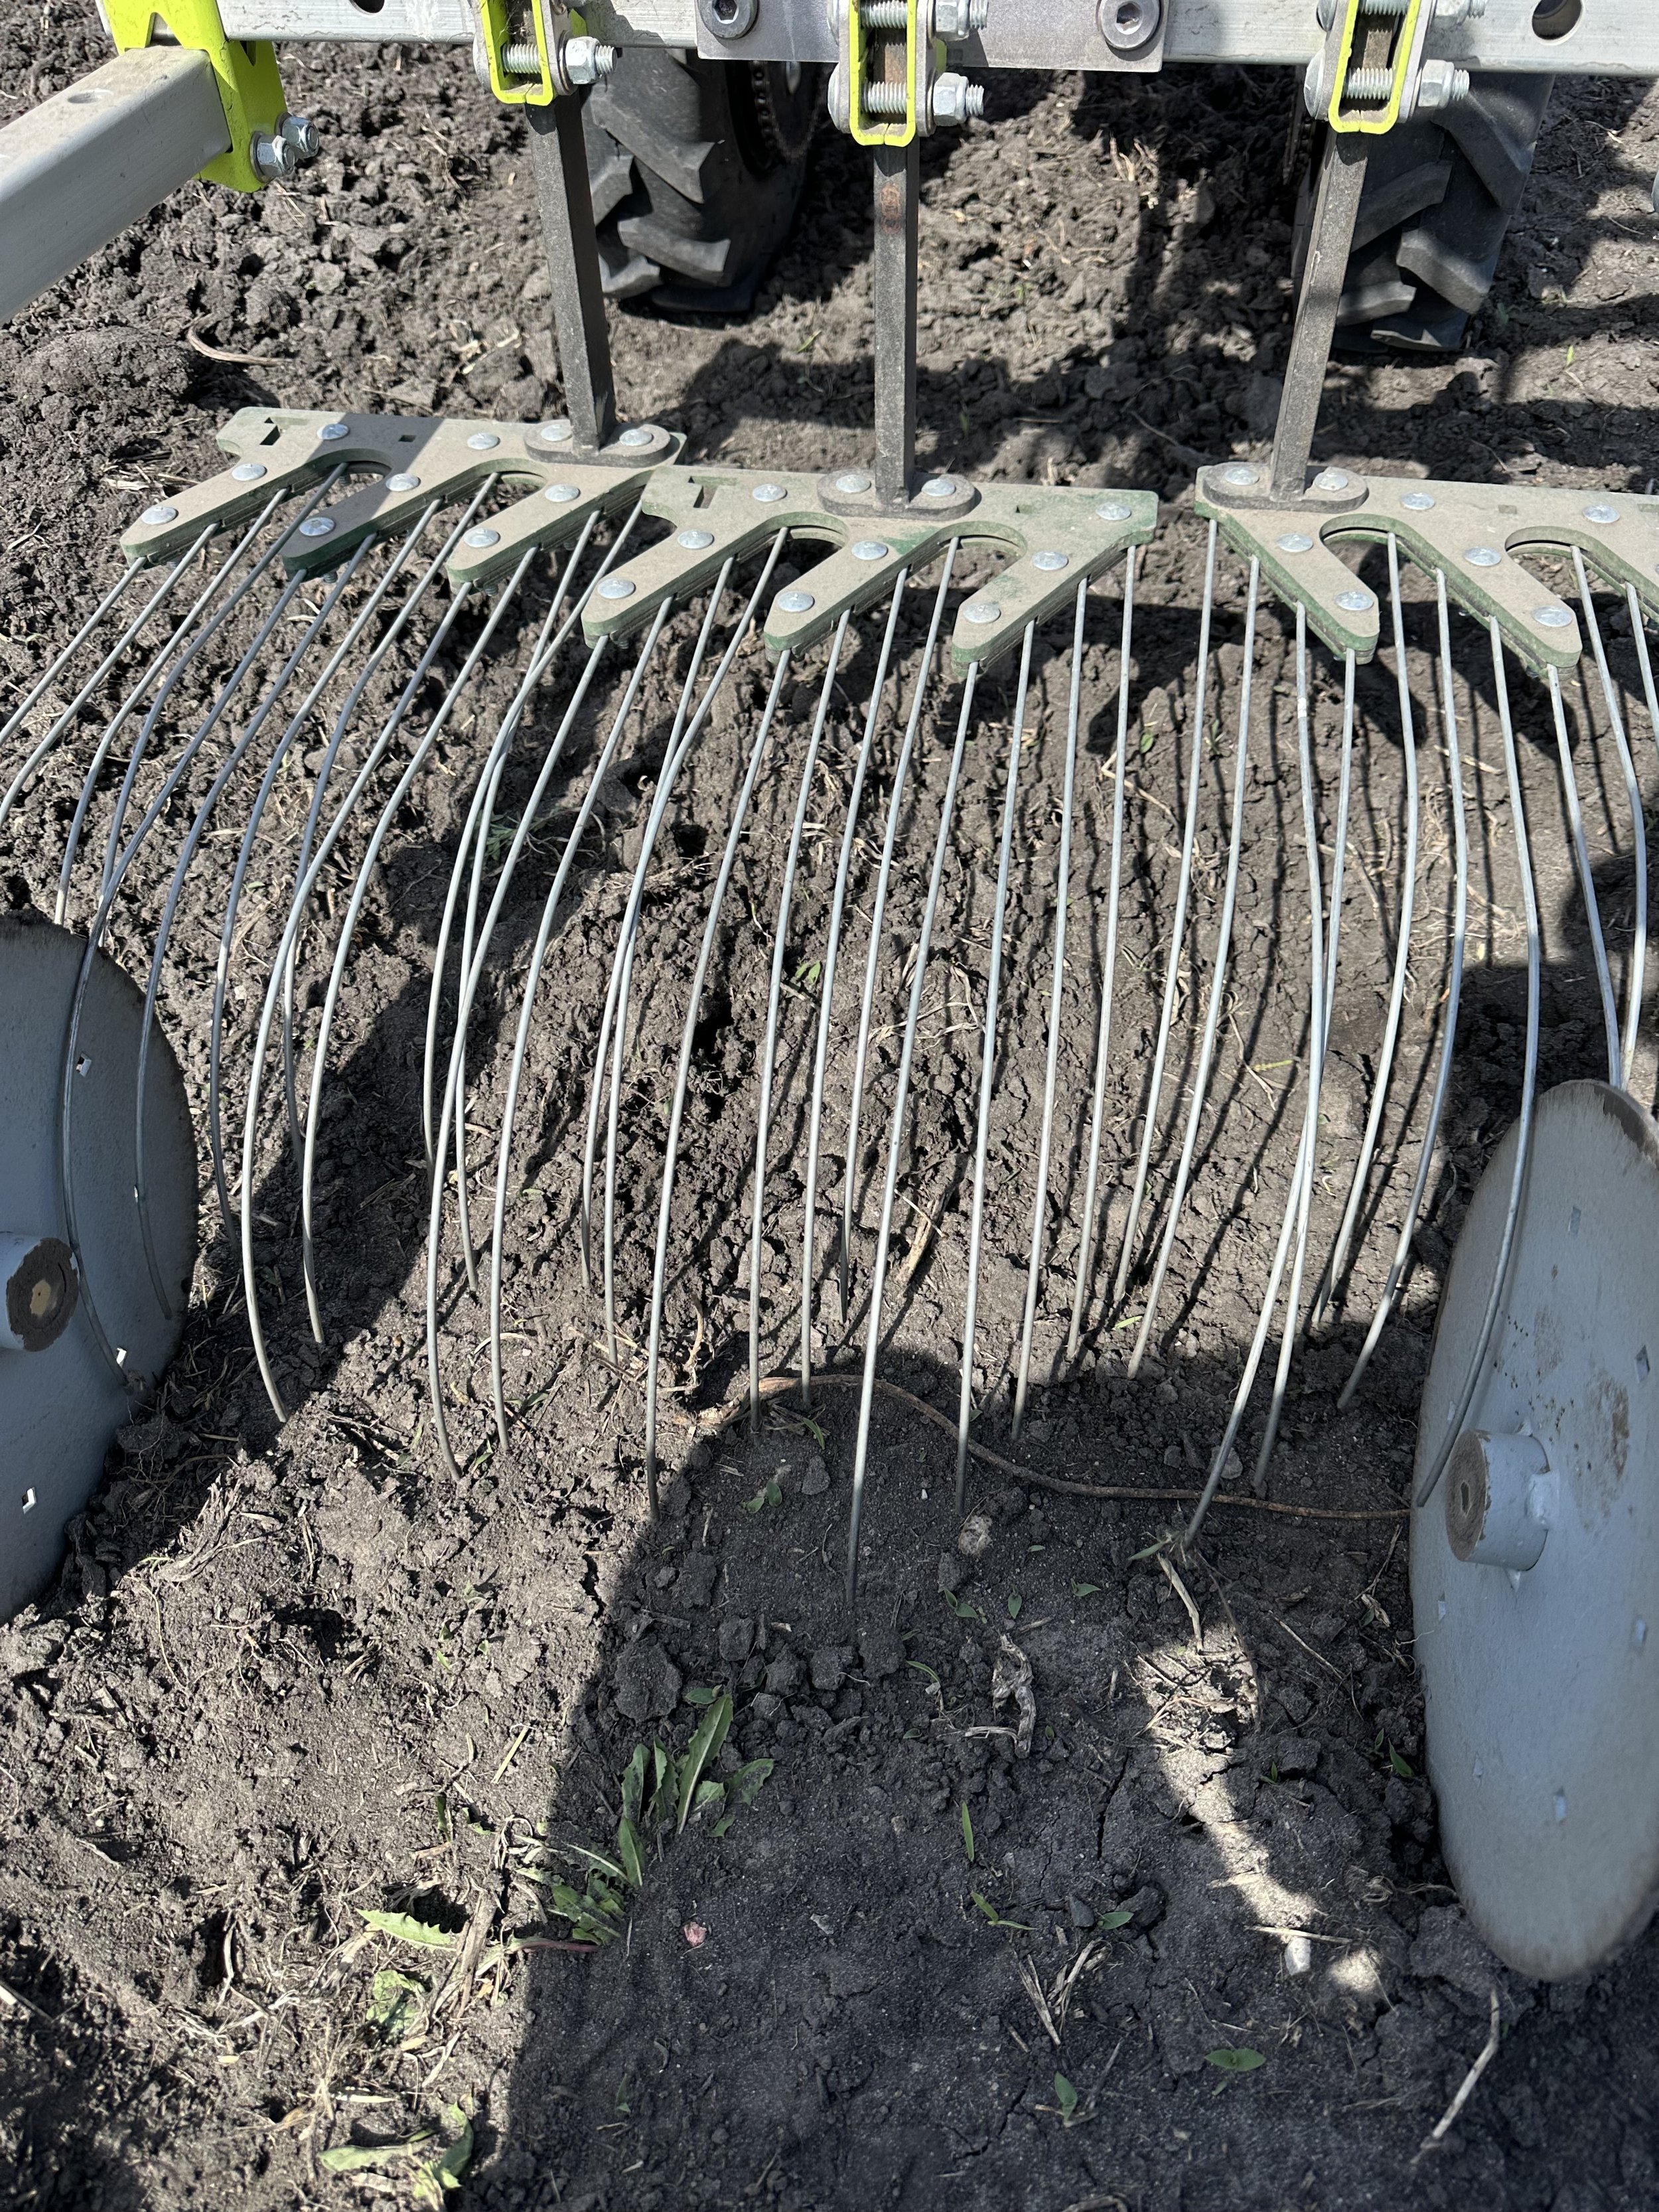
Closeup of the tine weeder.
Hand Weeding
Hand weeding is the most expensive and slowest weeding on the farm. All of the tools above help us reduce the hand weeding we have to do. We won’t completely eliminate hand weeding but in many cases we can reduce the time we spend hand weeding by 70% to 90% by using the tools above at the right time.
Finally, we take all of these tools together and apply a couple principles to them and we arrive at our weed control methodology.
Cultivate after every rain/irrigation session.
If you can see the weeds, it’s already too late to be most effective.
Stack cultivation tools as much as possible. Stacking tools means you use more than one method on each crop as often as possible.
Never let a weed go to seed.
Plant cover crops in fallow ground.
A Nice Spring Rain
We had a very much needed soaking rain over the past few days. My rain gauge said about 2.4” of rain and we needed every drop. It probably comes as no surprise that we’ve been busy planting and transplanting the past few weeks. We have a lot of seeds in the soil that were in very dry conditions and since seeds need water to germinate and spring to life we were eagerly anticipating the rain.

We do have irrigation but you may recall that last week we had a very, very windy week here on the farm. We had winds of 20MPH plus and some days as high as 45MPH which makes our overhead irrigation very ineffective. Most of the water evaporates or blows away before it hits the ground. So even though we have irrigation we could use to try to get our seeds to germinate we weren’t able to use it effectively. Further, we planted so many things in the last few weeks that we simply don’t have enough irrigation to water the entire farm. Thus, a rain was very welcome. Not to mention rainfall is always more uniform and seems to germinate our seeds much better than overhead irrigation.
Once things dry out we’ll have a flurry of tasks to complete that have been delayed because of the rain. We have a couple thousand transplants to get out into the soil, we have our next round of direct seeded crops to plant, we’ll need to make a cultivation pass across the entire farm to stay ahead of the weeds and we’ll need to continue hand weeding our crops. Luckily, we have a great farm crew this season and the weather is looking favorable for the next week or so!
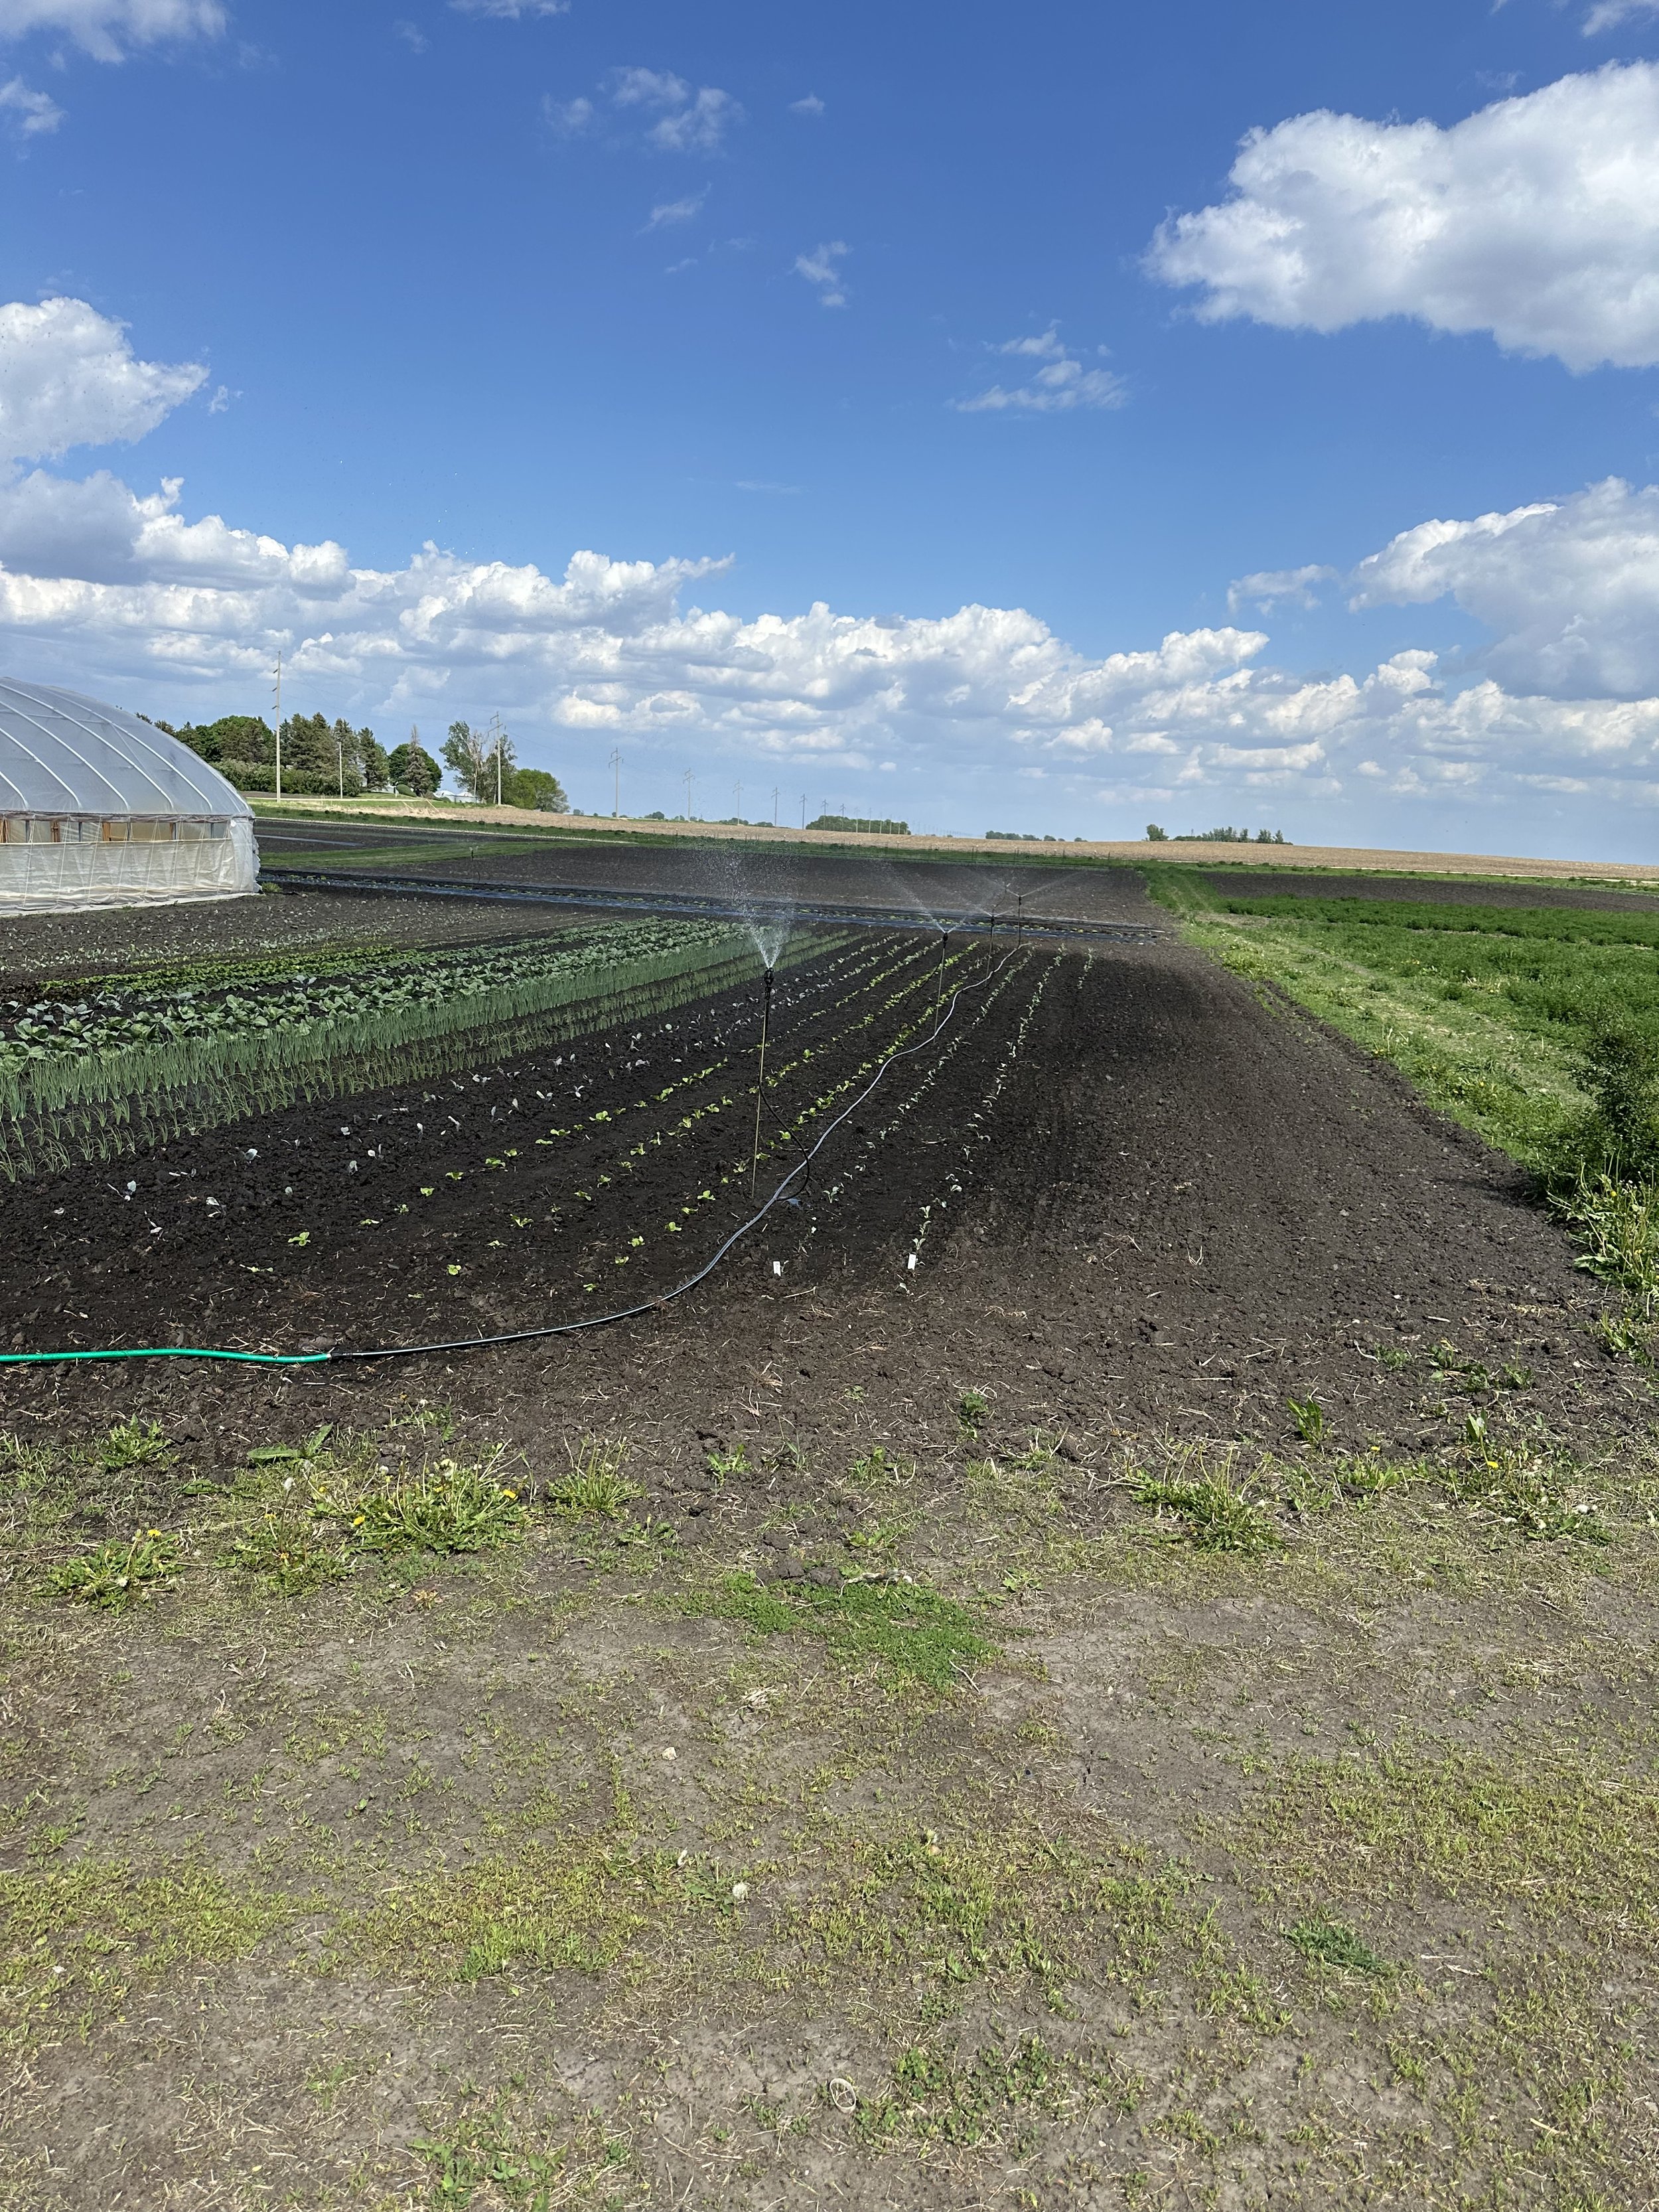
Our overhead irrigation in action. You can see how a strong wind would make this very ineffective.
Meet Our Staff Part One
Every year we hire a small crew to help us with the work on our farm. Our staff not only work on the farm doing tasks like harvesting, weeding, and transplanting but they’ll also be present at our Farmers Market stand and help with our CSA pickup locations and delivery route. We’d like to take a moment to introduce you to some of them with additional introductions coming in part two.
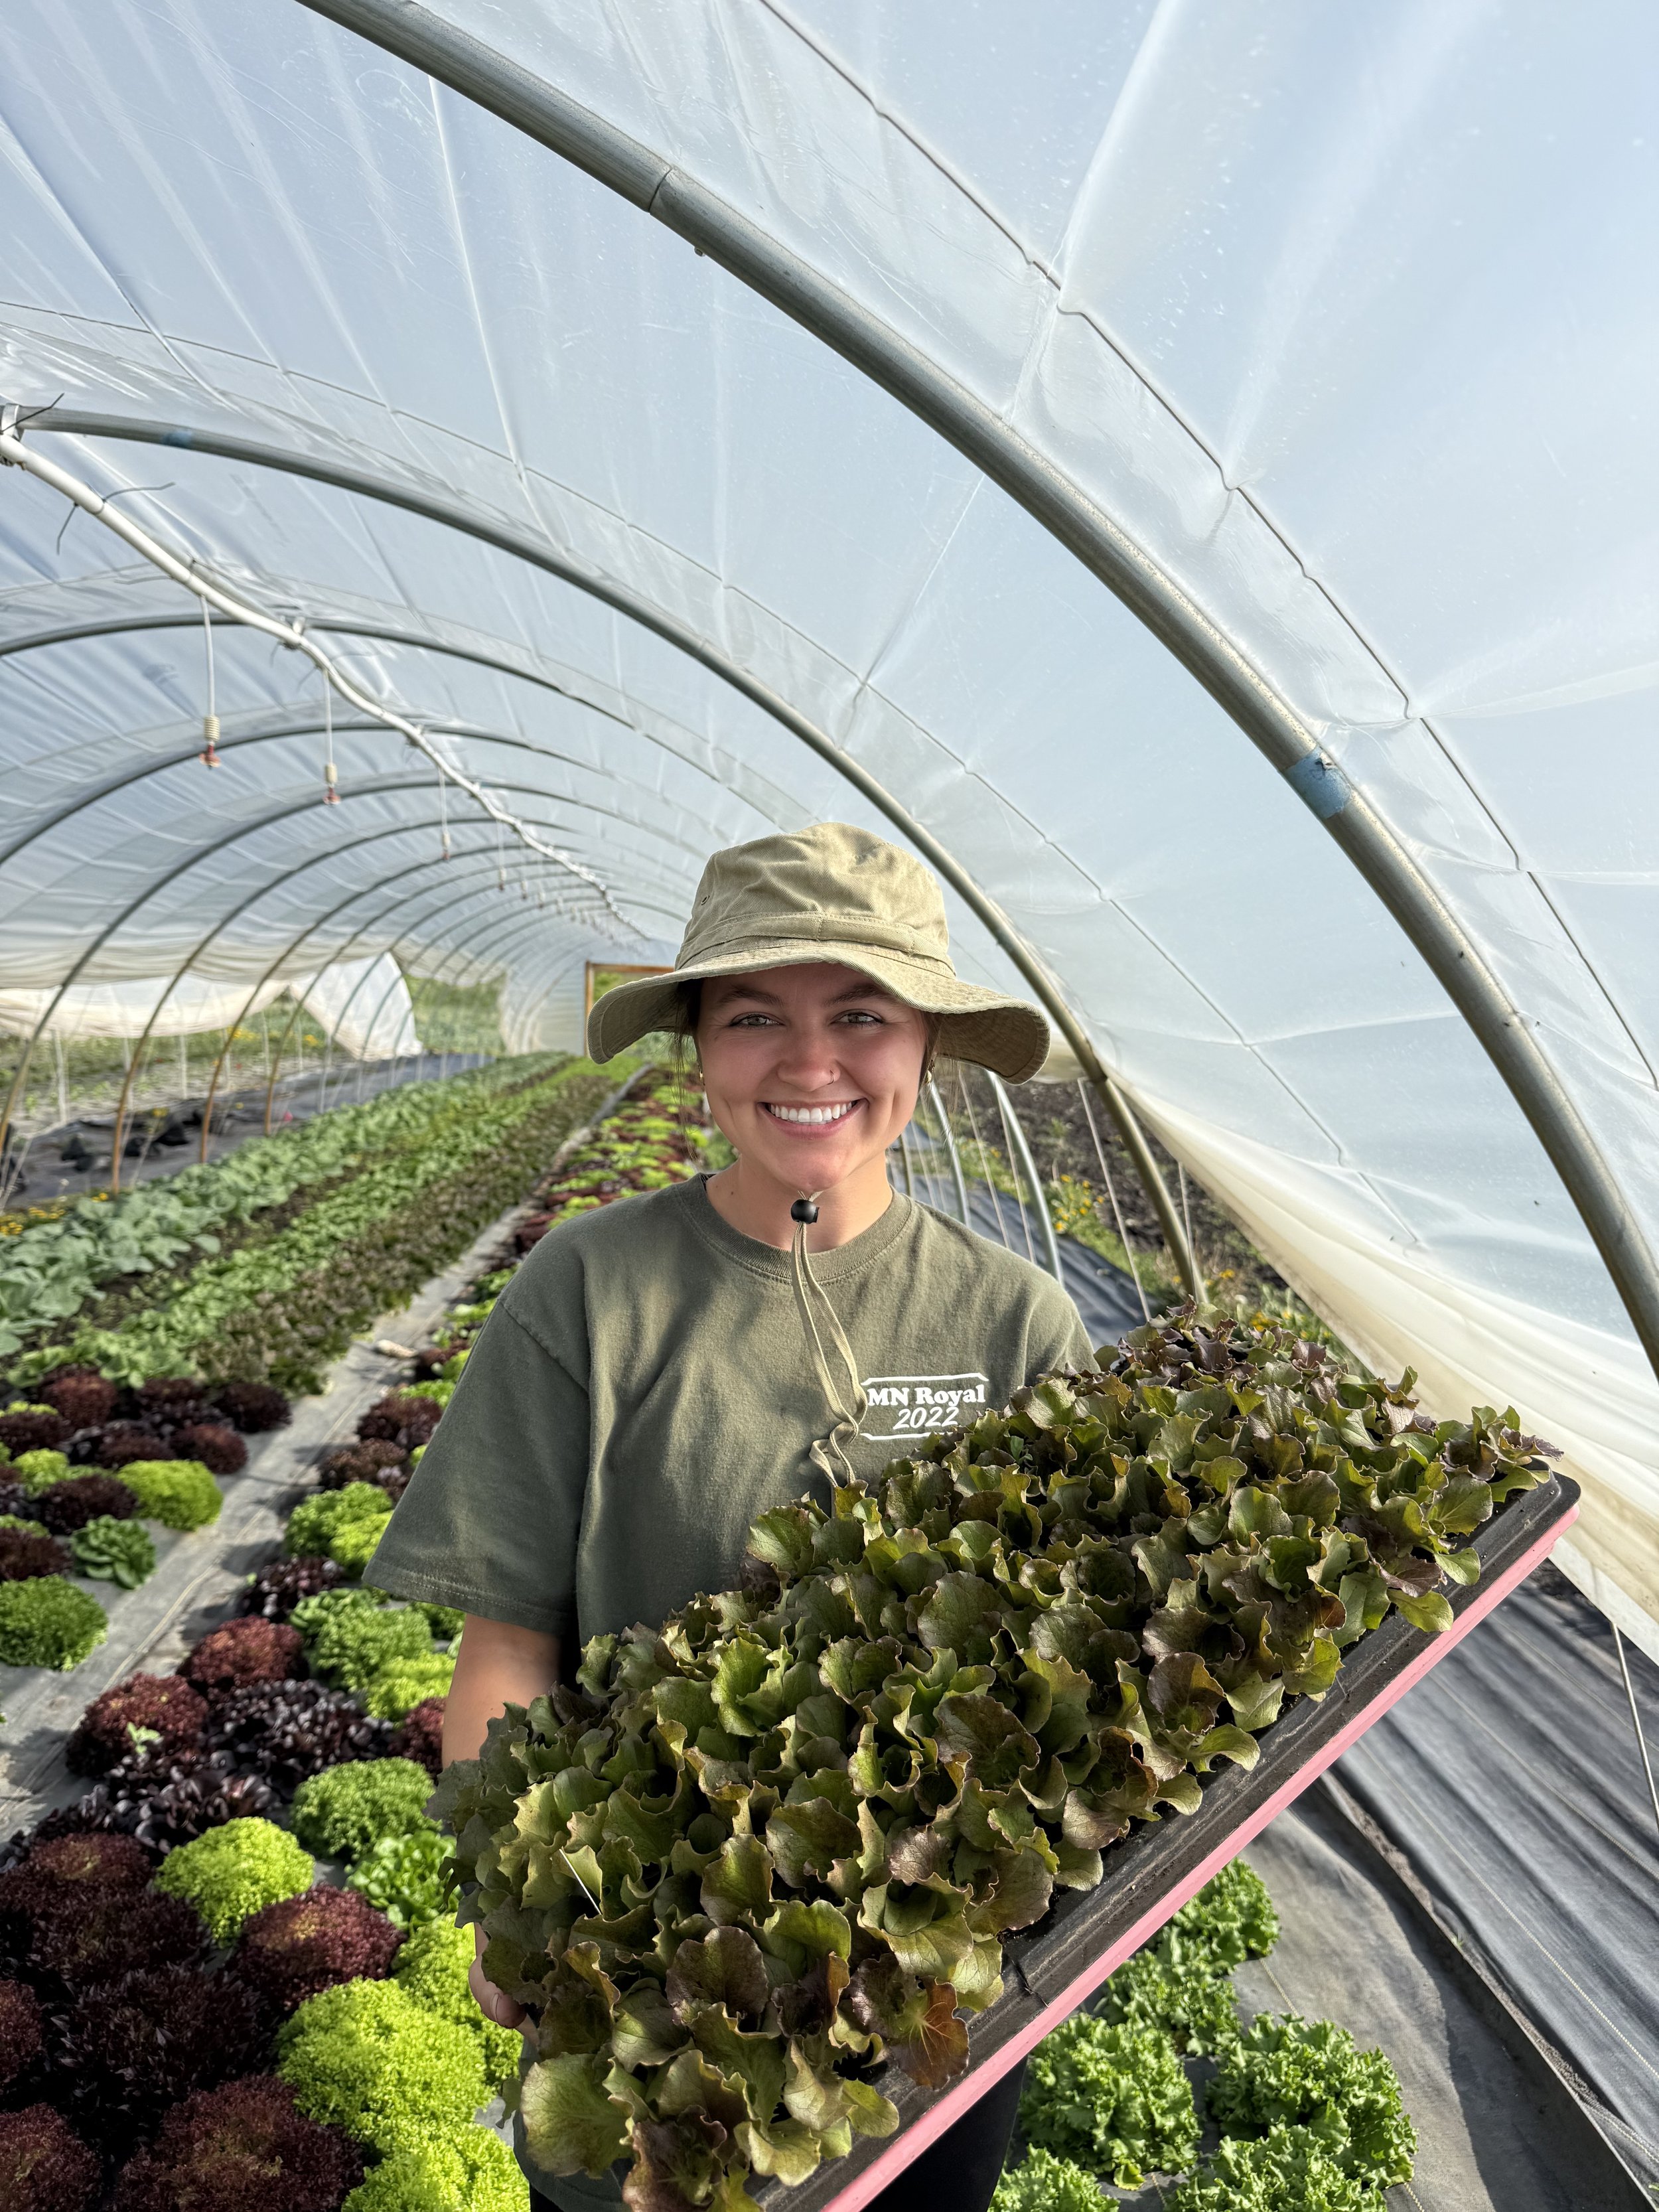
Meet Katey
My name is Katey and I’m a recent graduate from the University of Minnesota. In my free time I enjoy anything outdoors including hiking, golfing, fishing, planting flowers, and especially feeding the birds! This season I’m most excited for the Farmers Market. My favorite vegetable is sweet corn!
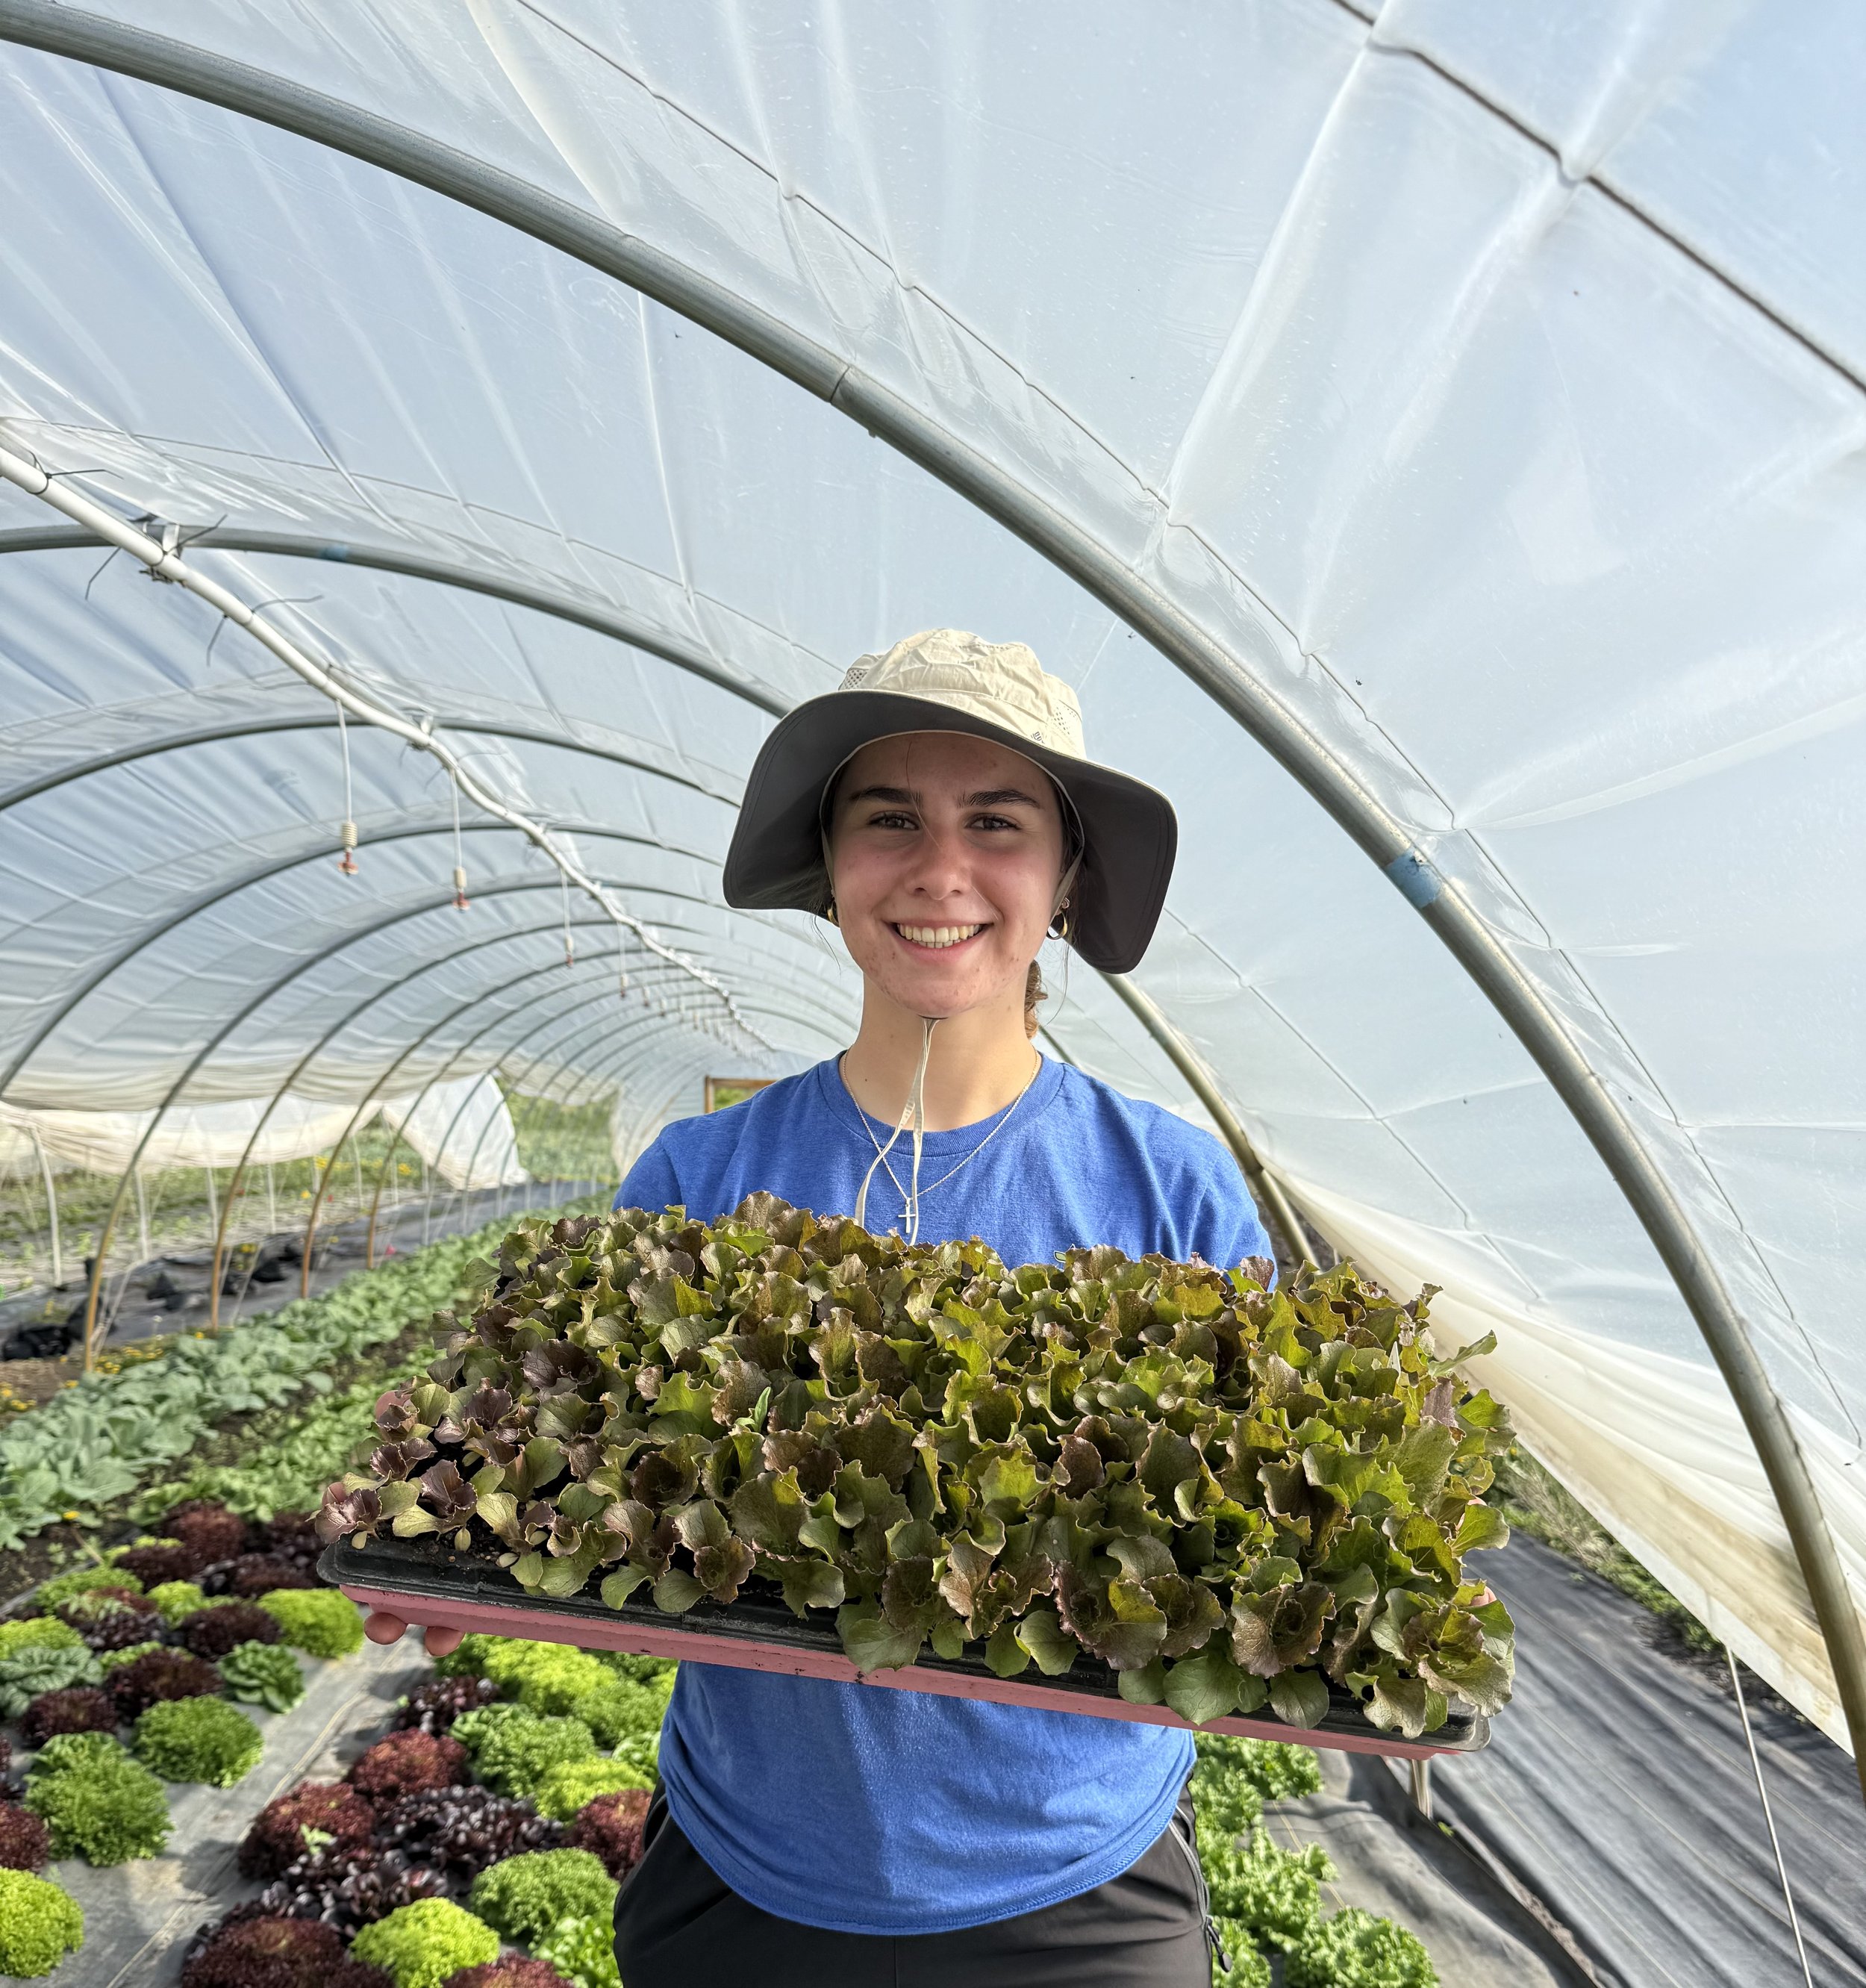
Meet Maggie
Hi! My name is Maggie I’m currently at South Central College in North Mankato going for Agribusiness. In my free time I enjoy fishing, gardening, baking, and playing cards and games with family! This season I’m looking forward to learning more about sustainable practices. My favorite vegetable is green beans!
Spring projects continue here on the farm and it’s great to have the extra help getting these projects done.
Landscape Fabric
As a team building exercise and also a necessary job the crew laid down landscape fabric yesterday. This job was extra difficult because the wind was a little stronger than we like for installing landscape fabric.
We use landscape fabric in several ways on the farm. Landscape fabric is made over woven plastic “threads” that allow water and air to pass through but smother weeds. We use it on crops that will be in the field for a long time and are difficult to cultivate like tomatoes and peppers. We also use it on our lettuce which helps it to stay cleaner by limiting the amount of soil splash up from rain and irrigation and smothers the weeds. We’re also experimenting with using landscape fabric on our winter squash this season. We’ve always had trouble keeping the weeds out of the winter squash and we hope that the landscape fabric will make our winter squash more weed free!
Direct Seeding and Transplants
We’re on schedule with our direct seeding and transplants as we continue to experience dry weather allowing us to get a lot of field work done. The farm crew transplanted lettuce, bok choy, kohlrabi, napa cabbage, red cabbage, green cabbage, broccolini, and broccoli.
On the direct seed side I planted the next round of sweet corn, beets, carrots and cilantro as well as our vine crops including cucumbers, honeydew melon, watermelon, cucumbers, summer squash and zucchini. We really need a good shot of rain to get these seeds going.

Potatoes Planted (finally)
This week we finally were able to plant our potatoes. This is pretty late in the season for us. Most years we’ve had our potatoes planted by mid-April but the weather had other plans for us. In this blog post we’ll go over the 3 varieties of potatoes we grow, how we plant them, and why getting them in this late really isn’t too big of a problem.

Potato Varieties
There are hundreds (maybe thousands?) of potato varieties world wide. We grow three of them. Our goals are to provide something familiar but more flavorful and also have something new for you to try while having potatoes available for as much of the season as possible.
Red Norland
This is your typical red potato. They’re soft and creamy and one of the first potatoes available in the season. Our ideal size is somewhere between the size of a golf ball and a tennis ball. They are great any way you prepare them - I personally like them mashed or fried the best.
Cascade
This is your typical white potato. Very similar to a russet but with a much thinner skin. We like to grow these larger than red potatoes with ideal size being somewhere between an oblong baseball and softball. Because of their lower starch content these tend to fry up the best but are also great with any preparation method.
Amarosa
This is a fingerling potato which have become quite trendy in the culinary world in recent years. Fingerling potatoes are less round and more oblong and resemble fingers and their namesake. Amarosa fingerling potatoes have a pinkish red skin and pink flesh and they are absolutely divine roasted. They also make really good mashed potatoes. Our oldest daughter, Addie - 4, loves pink mashed potatoes!


How We Plant Potatoes
Prepare the soil: We apply fertilizer and use our field cultivator to prepare the soil for planting.
Make the furrow: We use our potato plow to dig a furrow.
Plant the potatoes. Did you know that the “seed” for potato is actually potato tubers from the previous season?
Cover them up!
We used to do almost all of this by hand but by making use of our potato plow and disc hiller attachments for our tractor we are able to drastically reduce the physical toil of this job!

Planting Late
The reason we were so late to planting potatoes this year is largely on account of the wet April we had. After about April 10th it was too wet to get out into the field with our tractor to plant potatoes. We decided to work on other tasks like transplanting onions and taking care of our tunnel crops while we waited for things to dry out.
This won’t have too big of an impact on timing and availability of potatoes this season. The potatoes will grow quickly now that it’s warm and we pre-sprouted them to help them get a little head start on growing before they went into the ground. We anticipate beginning to dig potatoes in mid-July starting with our red potatoes.